Crowd Photos: How to Get Sharp Shots in Low Light
Low-light crowd photos are where “great moments” go to die. The room is dim, people are moving, your phone switches to a slower shutter speed, and suddenly half the gallery is soft, smeared, or full of grain.
The good news is you do not need a studio setup to get sharp shots. You need a simple priority order, a few setting tweaks, and (if you are hosting) one small change to the room.
Why crowd photos get blurry in low light (in one minute)
Sharpness is mostly a shutter speed problem.
In low light, cameras have three main tools to expose an image:
- Slower shutter speed (lets in more light, but records motion blur)
- Wider aperture (lets in more light, but can reduce depth of field)
- Higher ISO (brightens the image, but adds noise)
If you do nothing, your camera often chooses a shutter speed that is too slow for handheld shooting and moving subjects.
If you want a quick refresher on how shutter speed, aperture, and ISO trade off, Cambridge in Colour’s exposure tutorial is one of the clearest references.
The low-light sharpness rule: stabilize, brighten, then shoot
When you are shooting crowd photos (weddings, dance floors, conferences, house parties), this order works almost every time:
- Stabilize your camera (reduce your motion)
- Brighten the scene (add or find better light)
- Choose settings that freeze people (reduce their motion blur)
Even small changes in steps 1 and 2 let you use a faster shutter speed, which is the real win.
Step 1: Get your camera stable (fast fixes that actually help)
Handheld blur is amplified when you are excited, laughing, and shooting one-handed.
Do this for sharp handheld shots
- Use two hands and tuck your elbows lightly toward your ribs.
- Brace against a wall, a pillar, a chair back, or even a table edge.
- Exhale, then shoot (your body is stiller at the end of an exhale).
- Tap to focus, then hold still for the shot (especially on phones).
Avoid this in low light
- Digital zoom (it forces higher shutter/ISO tradeoffs and magnifies shake).
- Ultra-wide lens indoors if it is very dark (many ultra-wide lenses are weaker in low light, and people near the edges can smear from motion).
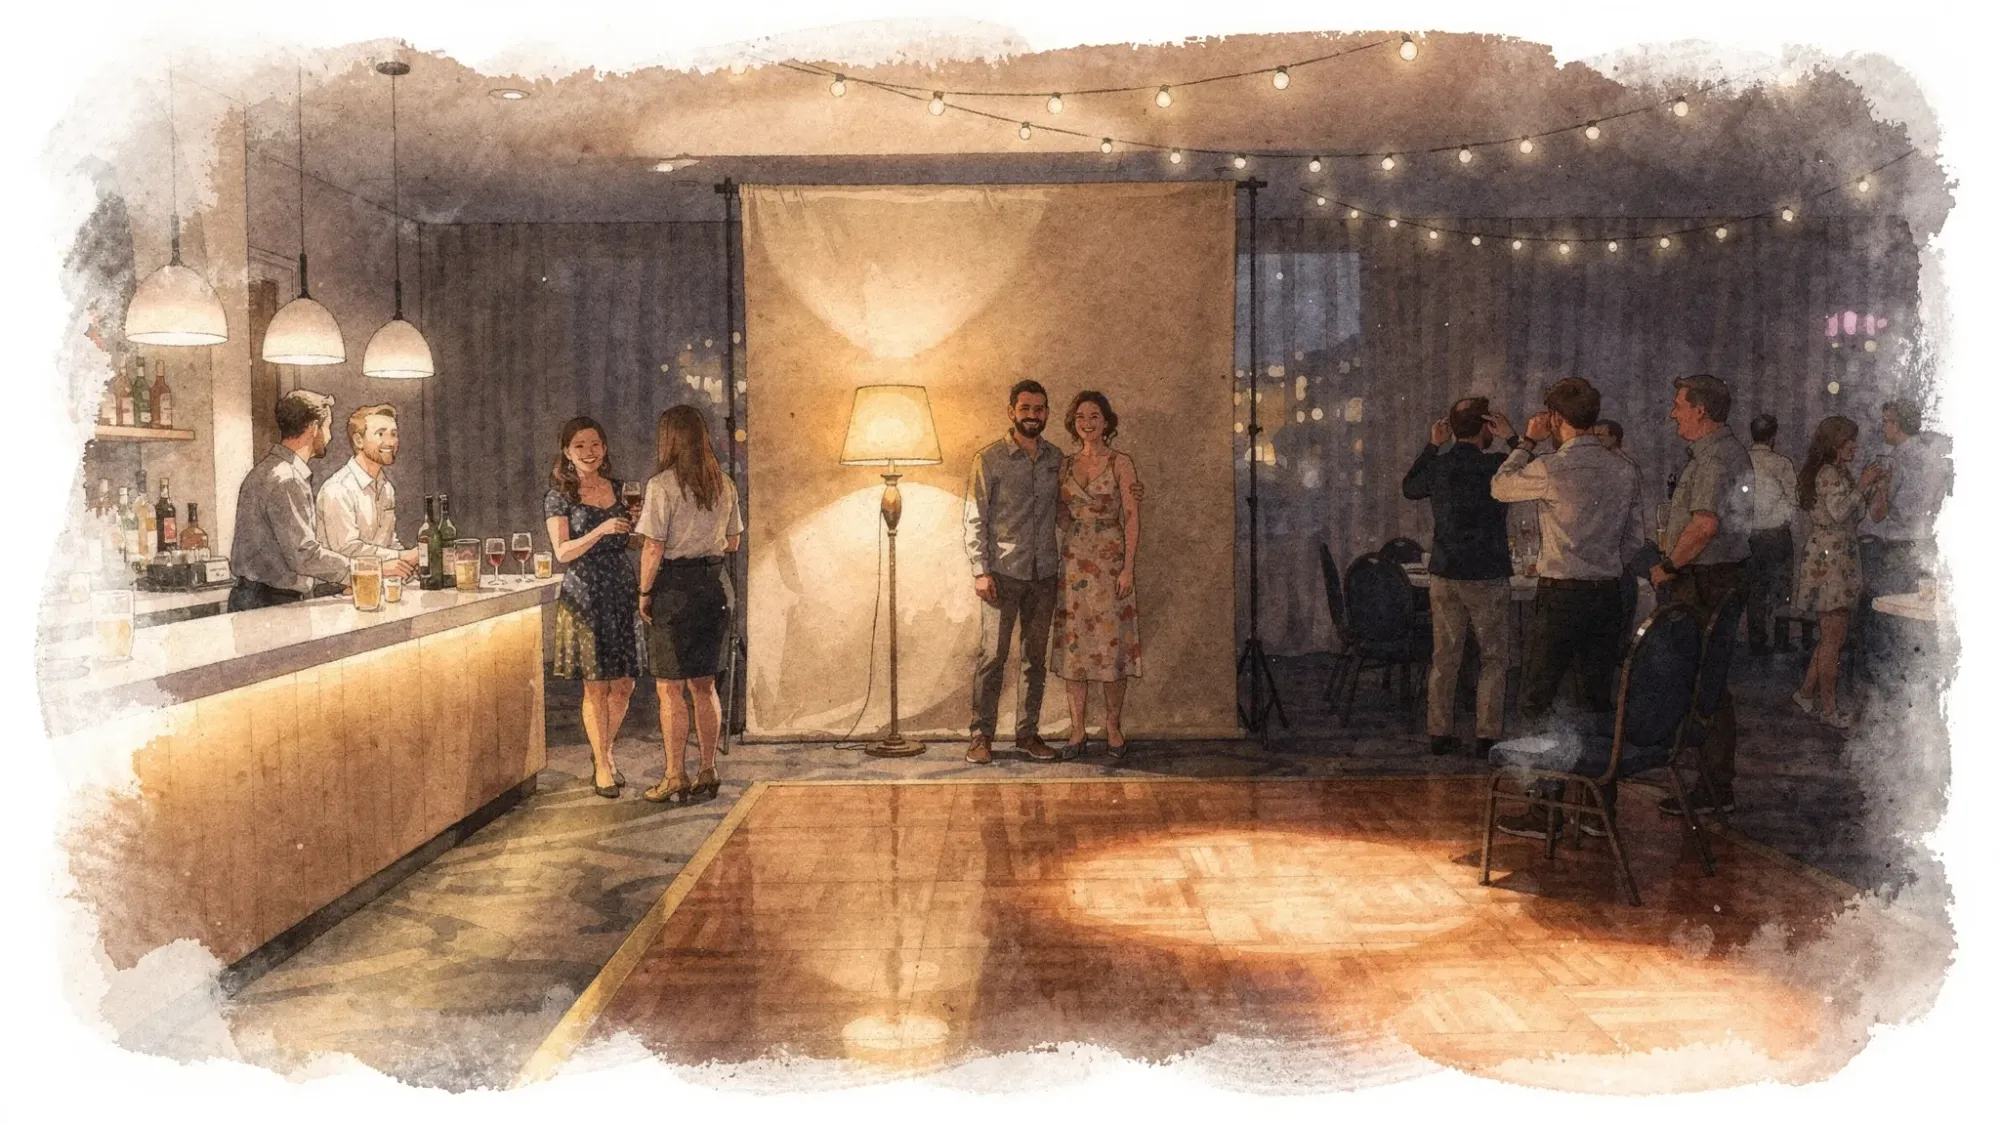
Step 2: Find (or create) “light pockets” for crowd photos
Most events have a few spots where the light is simply better. Your job is to move 6 feet, not to fight physics.
What a good light pocket looks like
- A bar area with overhead lighting
- A hallway with brighter fixtures
- A DJ light wash that is steady (not strobing)
- A window-adjacent area earlier in the evening
What to avoid
- Strong backlight (bright window behind people, spotlight behind heads)
- Mixed lighting extremes (dark faces with bright signs in the background)
If you are hosting, consider making one intentional “photo corner” where the light is predictable. It will quietly raise the quality of your entire gallery.
Step 3: Phone settings for sharp crowd photos in low light
Modern phones can do a lot, but you have to help them make the right choice.
iPhone: practical low-light settings that improve sharpness
- Use the 1x lens as your default. It is usually the most reliable in low light.
- Turn on flash when people are moving (dance floor, cheering, mingling). Night-style modes can look great, but they often require people to stay still.
- Lower the exposure slightly before you shoot (tap the screen, then drag the exposure slider down a bit). This can protect highlights and sometimes prevents the phone from choosing a slower shutter.
- Use burst-like behavior: take 3 to 6 shots quickly. One will often be sharper.
- Clean the lens. In dim rooms, a smudged lens creates haze and soft contrast that looks like “blur.”
Android (Pixel, Samsung, others): the same principles
- Prefer 1x over zoom in dark scenes.
- Use Night mode for calmer moments (posed groups, decor), and flash or Pro mode for motion.
- If you have Pro/Manual controls, prioritize a faster shutter speed first, then raise ISO.
A simple phone decision rule
If the crowd is moving, prioritize freezing motion.
- Moving people: flash on, shoot multiple frames.
- Mostly still group: night mode or no-flash, brace yourself, count down, shoot multiple frames.
Step 4: Camera settings (DSLR or mirrorless) for sharp low-light crowd shots
If you have manual control, think in shutter speed targets.
Shutter speed targets that work in real events
| Scene | Goal | Starting point | Notes |
|---|---|---|---|
| Posed group photo | Everyone sharp | 1/125s | Faster if people are laughing/moving |
| Mingling, hugs, toasts | Freeze casual motion | 1/200s | Go higher if you are at longer focal lengths |
| Dance floor | Freeze fast motion | 1/250s to 1/500s | Flash often helps a lot here |
| “Vibe” photo with some motion | Keep faces usable | 1/125s | Accept some background blur for energy |
Aperture and ISO (quick guidance)
- Aperture: For groups, stopping down helps. If you can, try f/2.8 to f/4 for small groups, f/4 to f/5.6 for bigger groups (depending on distance and lens).
- ISO: Raise ISO as needed once your shutter speed is fast enough. A noisy sharp photo is usually better than a clean blurry one.
Autofocus tips that reduce “mystery softness”
- Use continuous AF (AF-C / AI Servo) for motion.
- Use a single AF point and place it on a face.
- If the light is extremely low, focus, then reframe slightly rather than letting the camera hunt.
Step 5: Use flash without making your photos look harsh
Flash is not the enemy. Bad flash is.
Better flash fast
- Get closer (within a few steps). Flash power falls off quickly with distance.
- If you have a dedicated flash, bounce it off a neutral ceiling or wall when possible.
- Avoid blasting people straight on from far away. That is where you get flat faces and dark backgrounds.
Phone flash: how to make it look better
- Use flash on + 1x lens, then step in closer.
- Ask the group to pause for one beat after you say “3, 2, 1.”
- Take two quick shots. The second is often sharper because people settle.
Step 6: How to get sharp group shots inside a crowd
Crowd group photos fail for two reasons: people are not on the same plane, and the photographer shoots exactly once.
Make the group easier to keep sharp
- Pull everyone into one “arc” (a gentle curve facing you), not a deep rectangle.
- Keep faces on the same distance line as much as possible.
- Avoid extreme depth (five rows deep in a dark room is a blur trap).
Shoot like you want to win
- Give a clear countdown.
- Take 3 to 5 frames.
- After the first set, say “One more, hold still” and take two more.
This is the simplest way to beat blinking and micro-movement.
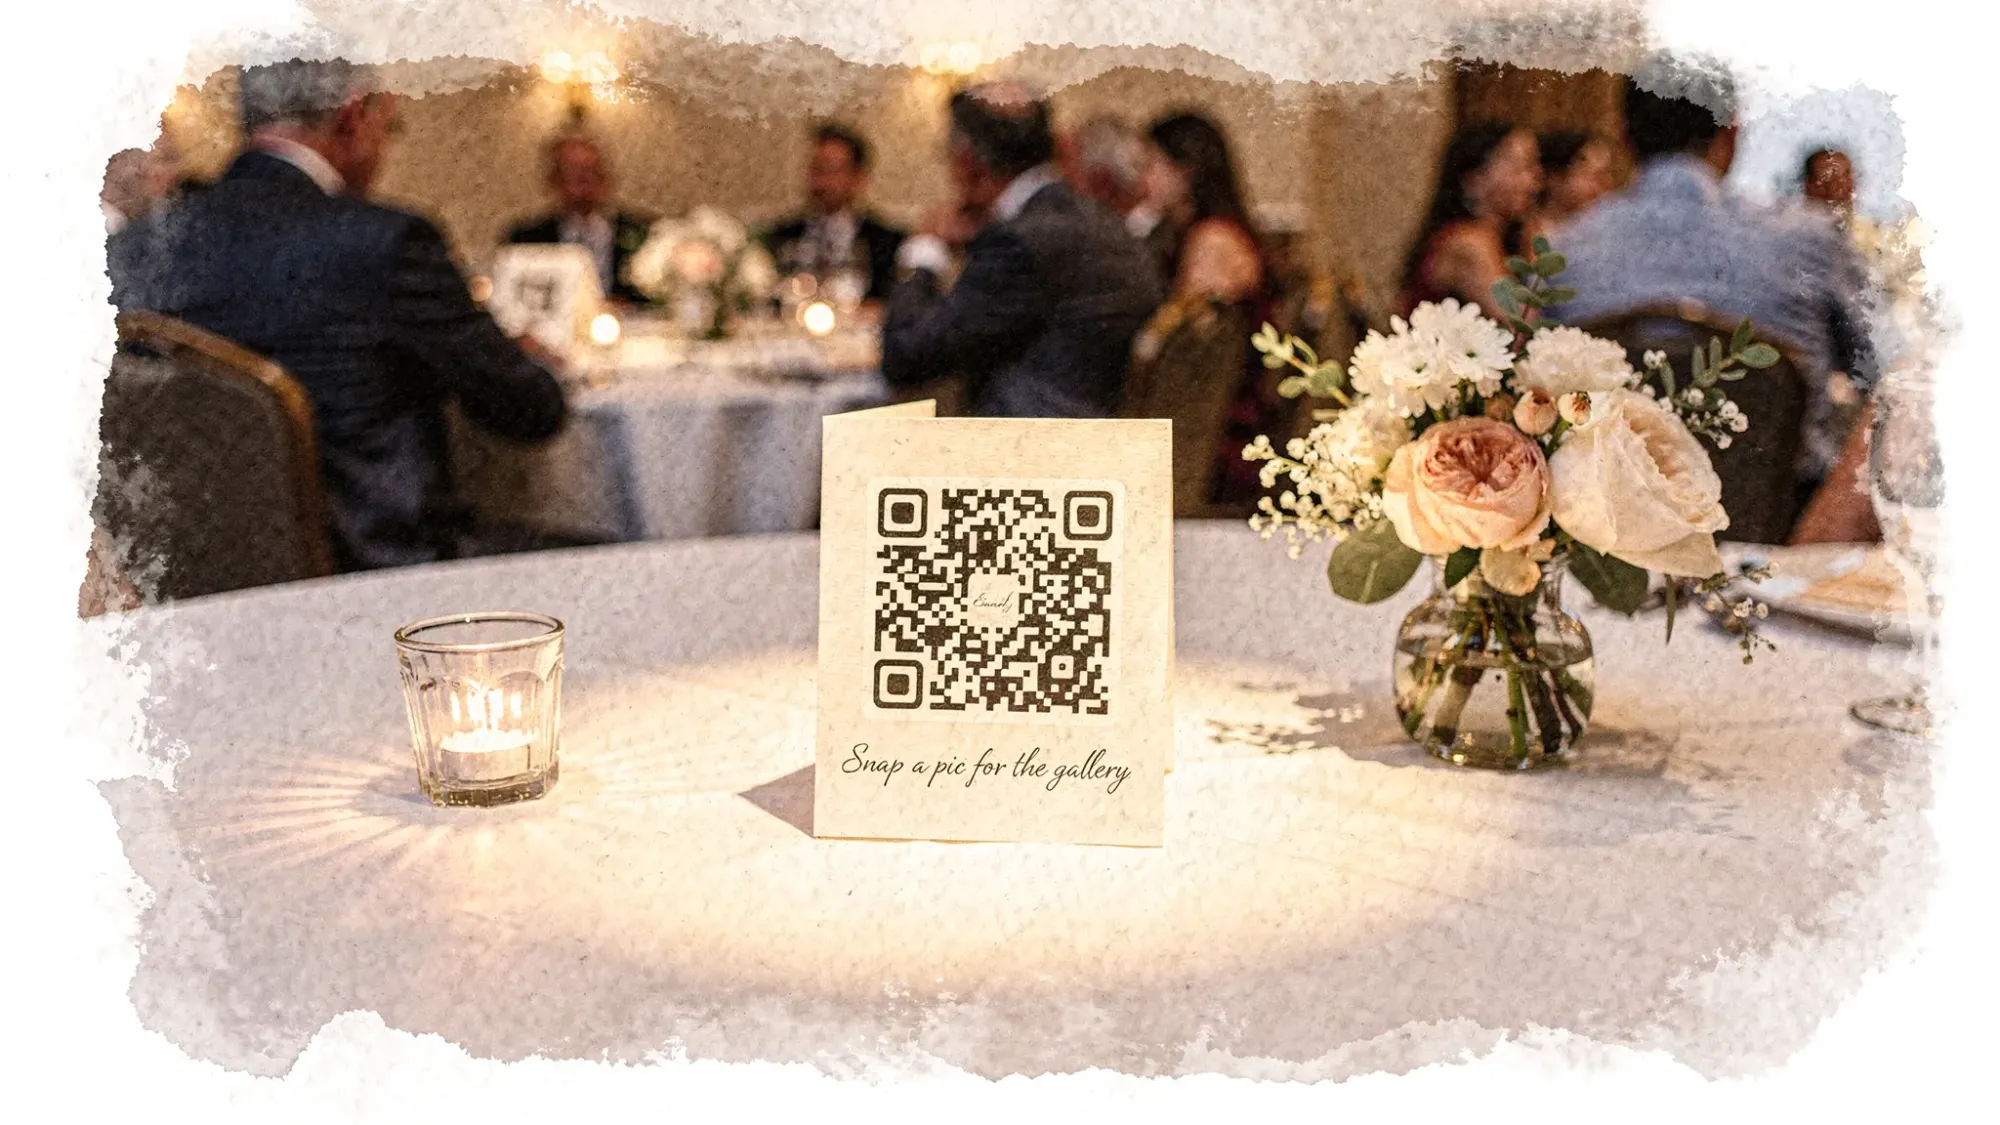
Step 7 (for hosts): Make crowd photos easier to collect and easier to curate
Even if guests take great photos, most events still lose them to friction. People forget, uploads happen days later, and the best shots get buried in group chats.
A cleaner approach is to make the event itself the destination.
With Revel.cam, hosts can create a private event gallery (a Moment) that guests join instantly via QR code, NFC tag, or link. Guests snap photos and they upload automatically to the Moment, with no app install or signup required.
Two host settings that are especially useful for crowd photos:
- Per-guest photo limits: fewer duplicates, more intentional shots.
- Host review and moderation: keep the final gallery clean before you share it.
If you want more tactics specifically about improving guest photo quality and reducing blur, this guide pairs well: Wedding guest pictures: how to avoid duplicates and blurry shots.
Quick troubleshooting: why your “sharp” shot still looks soft
If your photo is technically not blurred, but still looks mushy, check these common causes:
- Dirty lens (the most common culprit)
- Backlit faces (camera exposes for the bright background)
- Digital zoom (loss of detail plus amplified shake)
- Night mode on moving people (faces smear even if the background is clean)
- Compression from messaging apps (screenshots and chat uploads can soften detail)
Frequently Asked Questions
What’s the best way to take sharp crowd photos on a phone in low light? Use the 1x lens, stabilize with two hands, avoid zoom, and choose flash for moving people. Shoot 3 to 6 frames quickly.
Should I use Night mode for party photos? Use Night mode for mostly still scenes (posed groups, decor, quiet moments). For dancing or fast motion, flash or a faster shutter (if available) will look sharper.
Why are my group photos blurry even when people look still? Small movements add up in low light, and phones may use a slow shutter speed. Count down, ask for a one-beat pause, brace yourself, and take multiple frames.
What shutter speed should I use for low-light event crowd photos on a camera? Start around 1/125s for posed groups, 1/200s for mingling, and 1/250s to 1/500s for dancing. Raise ISO as needed.
How do I avoid grainy photos without getting blur? Prioritize a shutter speed that freezes people, then manage noise with lighting (move to a brighter spot, use flash, or bounce flash). A sharp noisy photo is usually more usable than a clean blurry one.
How can I collect crowd photos from guests without chasing everyone after the event? Use a single, camera-first upload destination that guests can join instantly at the event (for example via QR code or NFC), so photos upload as they are taken.
Turn crowd photos into one gallery, automatically
If you are hosting an event, the easiest way to end up with more sharp crowd photos is to make sharing effortless while the moment is happening.
Create a private Moment on Revel.cam and share it with a QR code or NFC tag. Guests can snap and upload instantly, and you can review the gallery before you share it out.
A writer interested in connection, memory, and the everyday moments that matter more than we realize.
Tags: Photography tips , Vintage photography , Event photography