Retro Camera App Guide: Get the Look Without Losing Quality
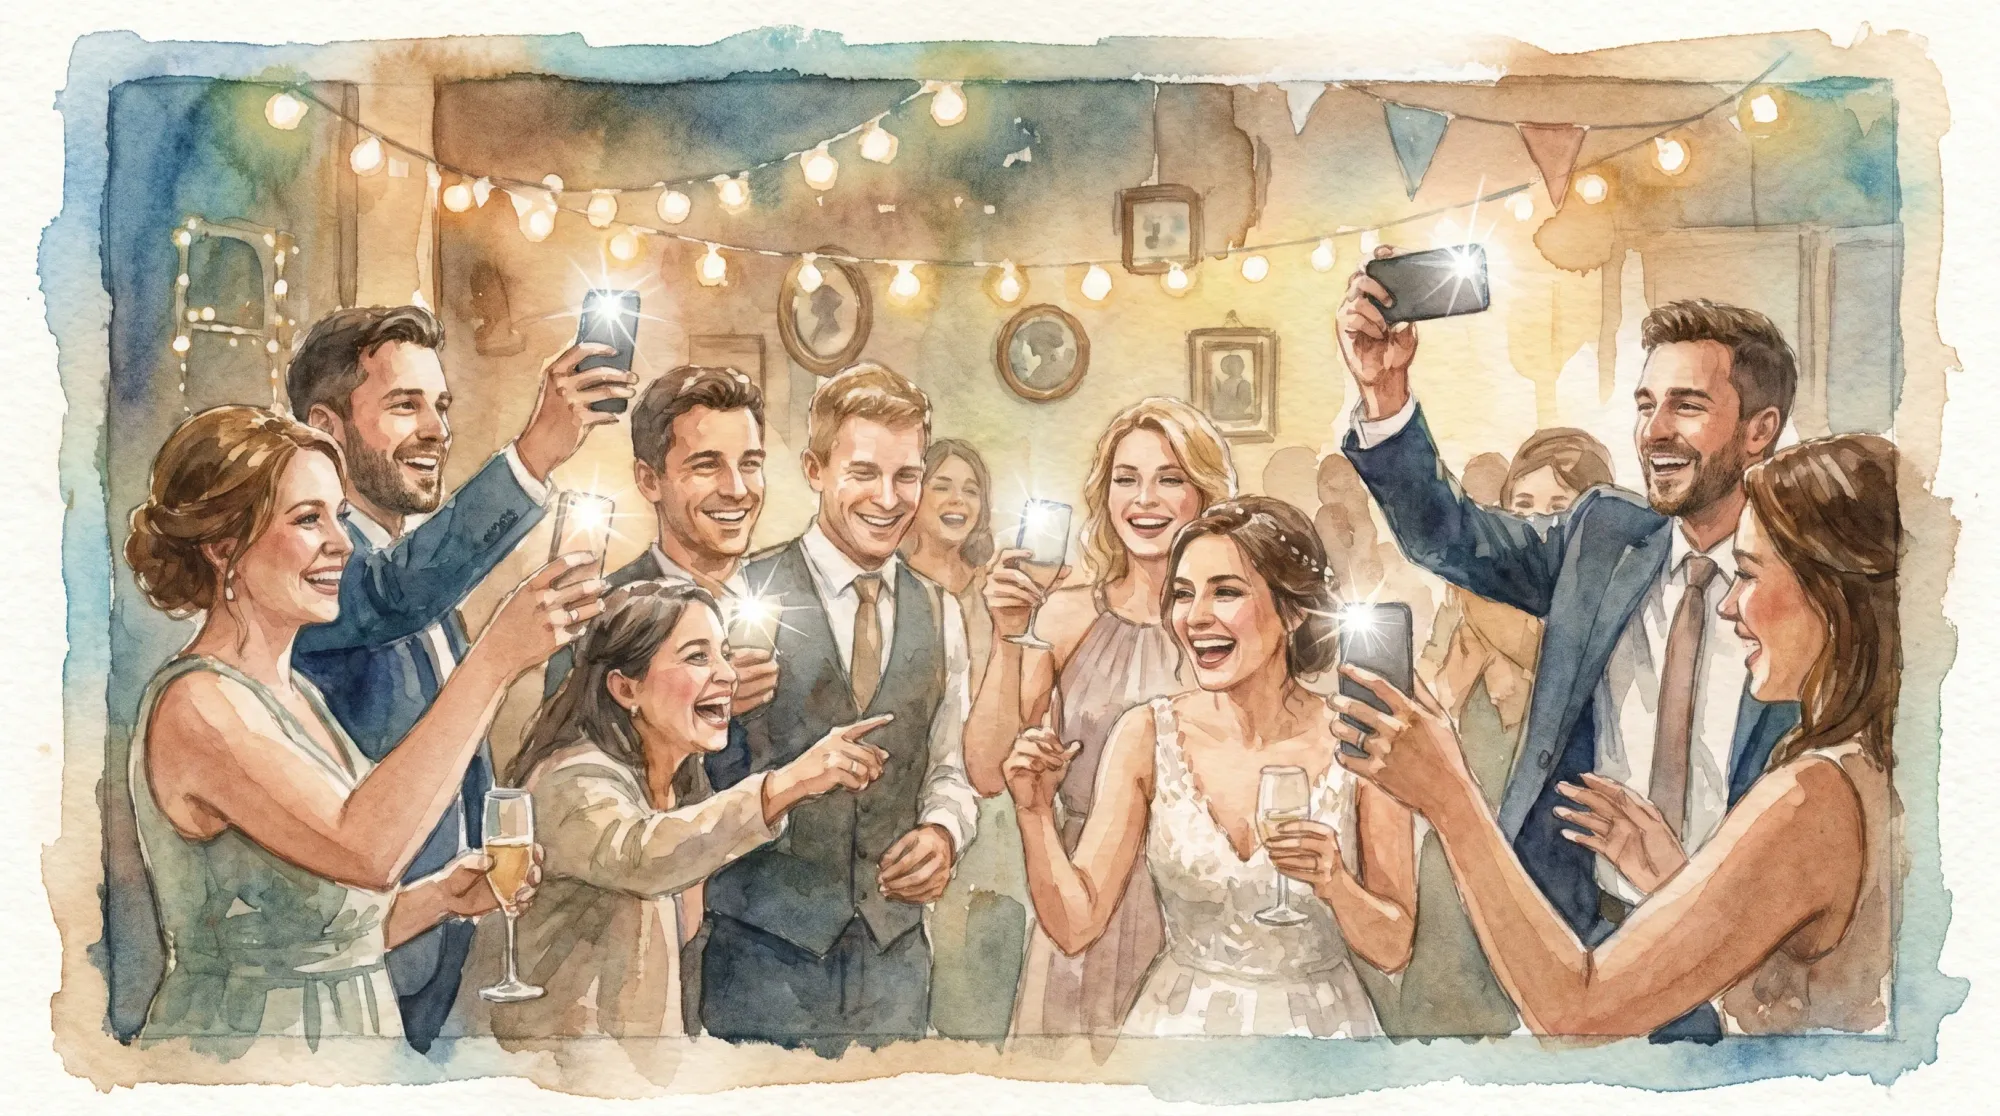
Retro photos are having a moment for a reason: they feel candid, imperfect, and human. The problem is that a lot of “retro camera app” results look retro in the worst way, muddy detail, crushed shadows, weird skin tones, and images that fall apart the second you try to print them.
This guide is about getting the look on purpose, while keeping files sharp enough for albums, posters, brand recaps, or a wedding gallery you’ll still love in ten years.
What “retro” really is (and why quality gets lost)
Most retro styles are a mix of a few visual traits:
- Tone curve: softer contrast, lifted blacks, or a faded highlight roll-off.
- Color shift: warmer highlights, cooler shadows, or a slight green/magenta cast.
- Grain and texture: intentional noise, often heavier in shadows.
- Lens character: vignetting, softness at the edges, bloom/halation around bright lights.
- Flash vibe: direct, on-camera flash look with punchy subjects and darker backgrounds.
Quality gets lost when an app bakes these effects in too aggressively, exports at low resolution, or you share through channels that compress the image (many messaging apps and social platforms do). The fix is simple: treat “retro” as an edit style, not as permission to downgrade your file.
Start with a clean capture (the quality multiplier)
No filter can recover detail you never captured. Before you even pick an app, make sure your base photo is strong.
Use the best lens your phone has (usually the 1x)
On most phones, the “main” camera is the highest-quality sensor and lens combination. The ultra-wide often looks softer, and digital zoom can reduce detail fast.
Clean the lens like you mean it
A fingerprint turns highlights into haze, especially with night lighting and flash. A quick wipe is the cheapest “upgrade” you’ll ever get.
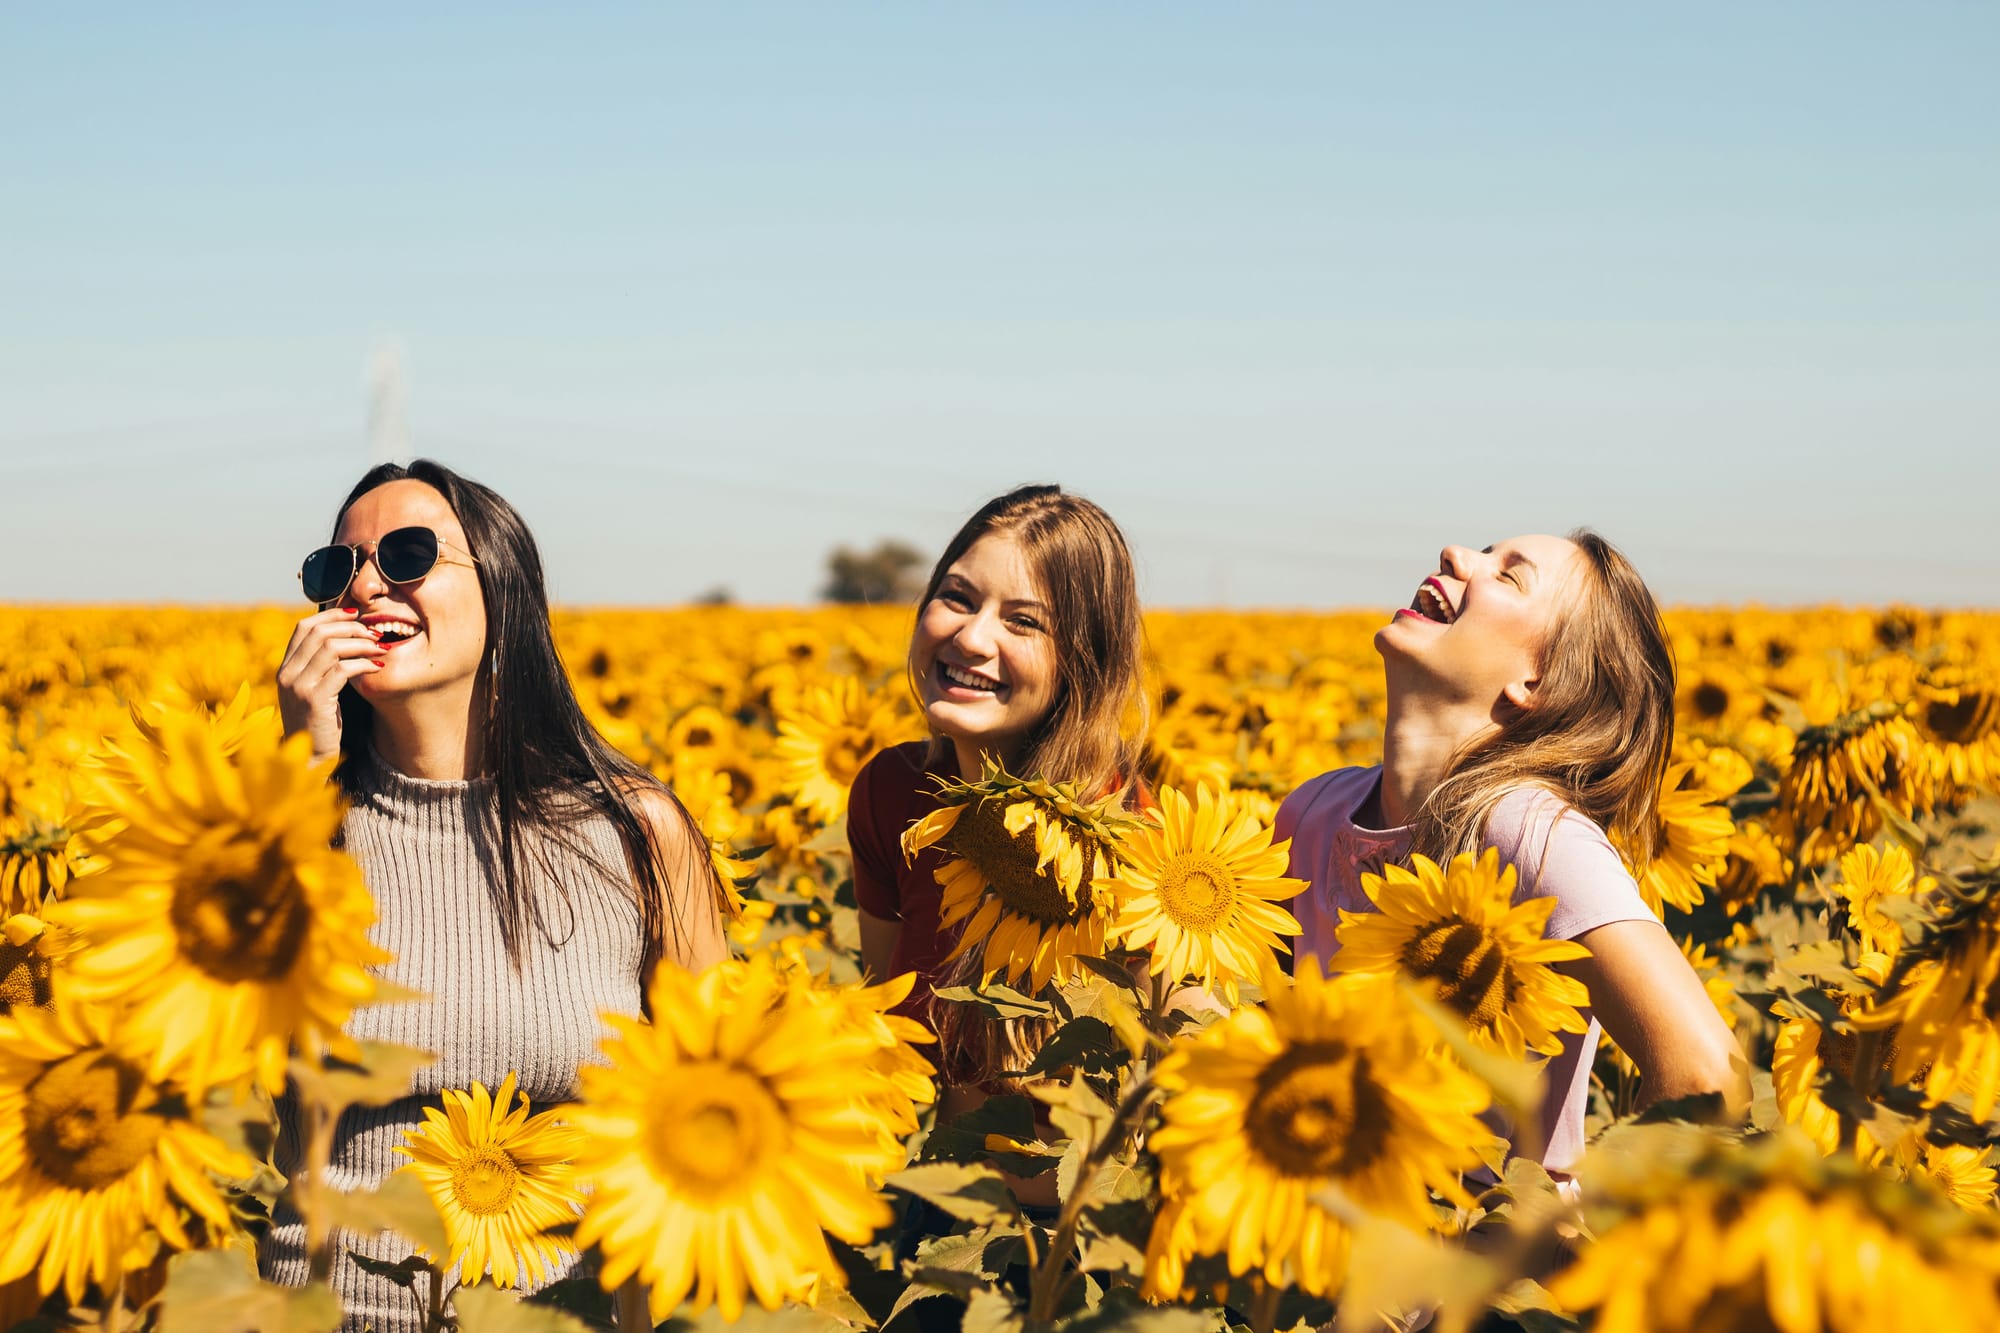
Get closer instead of zooming
Retro photos often feel intimate because they’re physically close. That also improves quality because you’re not enlarging pixels.
Control motion blur
A lot of people confuse “film vibe” with “blur.” Film can be sharp. If you’re shooting people moving (dance floor, entrances, parades), stabilize your phone and take two quick frames.
Light beats any filter
If you want that disposable-camera energy, light it like one:
- Use direct flash when the background is dark.
- Step into brighter areas for groups (near a bar sign, near a window, under a spotlight).
- Avoid mixed lighting when possible (neon + warm bulbs can turn skin tones weird).
Two smart workflows: pick the one that protects quality
Most people choose a retro camera app based on aesthetics alone. If you care about quality, choose based on workflow.
Workflow A: Shoot inside the retro app
This is the “one-step” approach: open the app, shoot, done.
When it’s great: you want speed, you like the in-app constraints, and you’re okay with a more baked-in look.
Main risk: some apps use a simpler camera pipeline than your phone’s native camera, and some export smaller files.
Workflow B: Shoot with the native camera, then apply the retro look
This is the “quality-first” approach: capture with your phone camera (often the best processing and HDR), then edit with presets/filters.
When it’s great: you want the best detail, better low-light results, and more control over how heavy the retro effects are.
Main risk: it takes a little discipline to keep the look consistent.
Here’s a quick comparison to help you choose.
| Approach | Best for | Typical quality outcome | What to verify in the app |
|---|---|---|---|
| Shoot in retro app | Fast, fun, “disposable” constraints | Varies by app, can be lower in low light | Export resolution, HDR support, how heavy the effects are |
| Native camera + edit | Prints, albums, professional recaps | Typically highest detail and dynamic range | Non-destructive editing, high-quality export, preset consistency |
If your priority is “get the look without losing quality,” Workflow B is usually the safer default.
What to look for in a retro camera app (quality checklist)
A retro camera app can be excellent, but only if it respects your files. When you’re comparing options, look for these signals.
High-quality export options
At minimum, you want:
- Ability to export at full resolution (not a social-media sized file)
- Control over JPEG quality (if offered)
- Clear information about what it saves (some apps save a new copy, some overwrite)
If the app is vague about export size, assume it may be optimized for sharing, not archiving.
Non-destructive editing (or at least reversibility)
Non-destructive editing means the app remembers your edits without permanently baking them into the only copy of your photo. That matters when you later decide the grain was too strong or you want a cleaner version for print.
Grain you can dial down
Good grain looks like texture, not like a gray fog. You want control over:
- Strength
- Size
- Shadow vs highlight behavior (some tools offer this, many don’t)
Presets you can reuse consistently
The fastest way to make “retro” look intentional is consistency. A single preset used well beats seven different looks in the same gallery.
Optional RAW capture and editing (advanced)
RAW files preserve more editing flexibility than JPEG/HEIC, especially for tricky lighting. If you’re curious, Adobe’s overview of RAW vs. JPEG is a solid baseline.
You do not need RAW to get great retro photos, but it helps if you’re pushing colors or rescuing highlights.
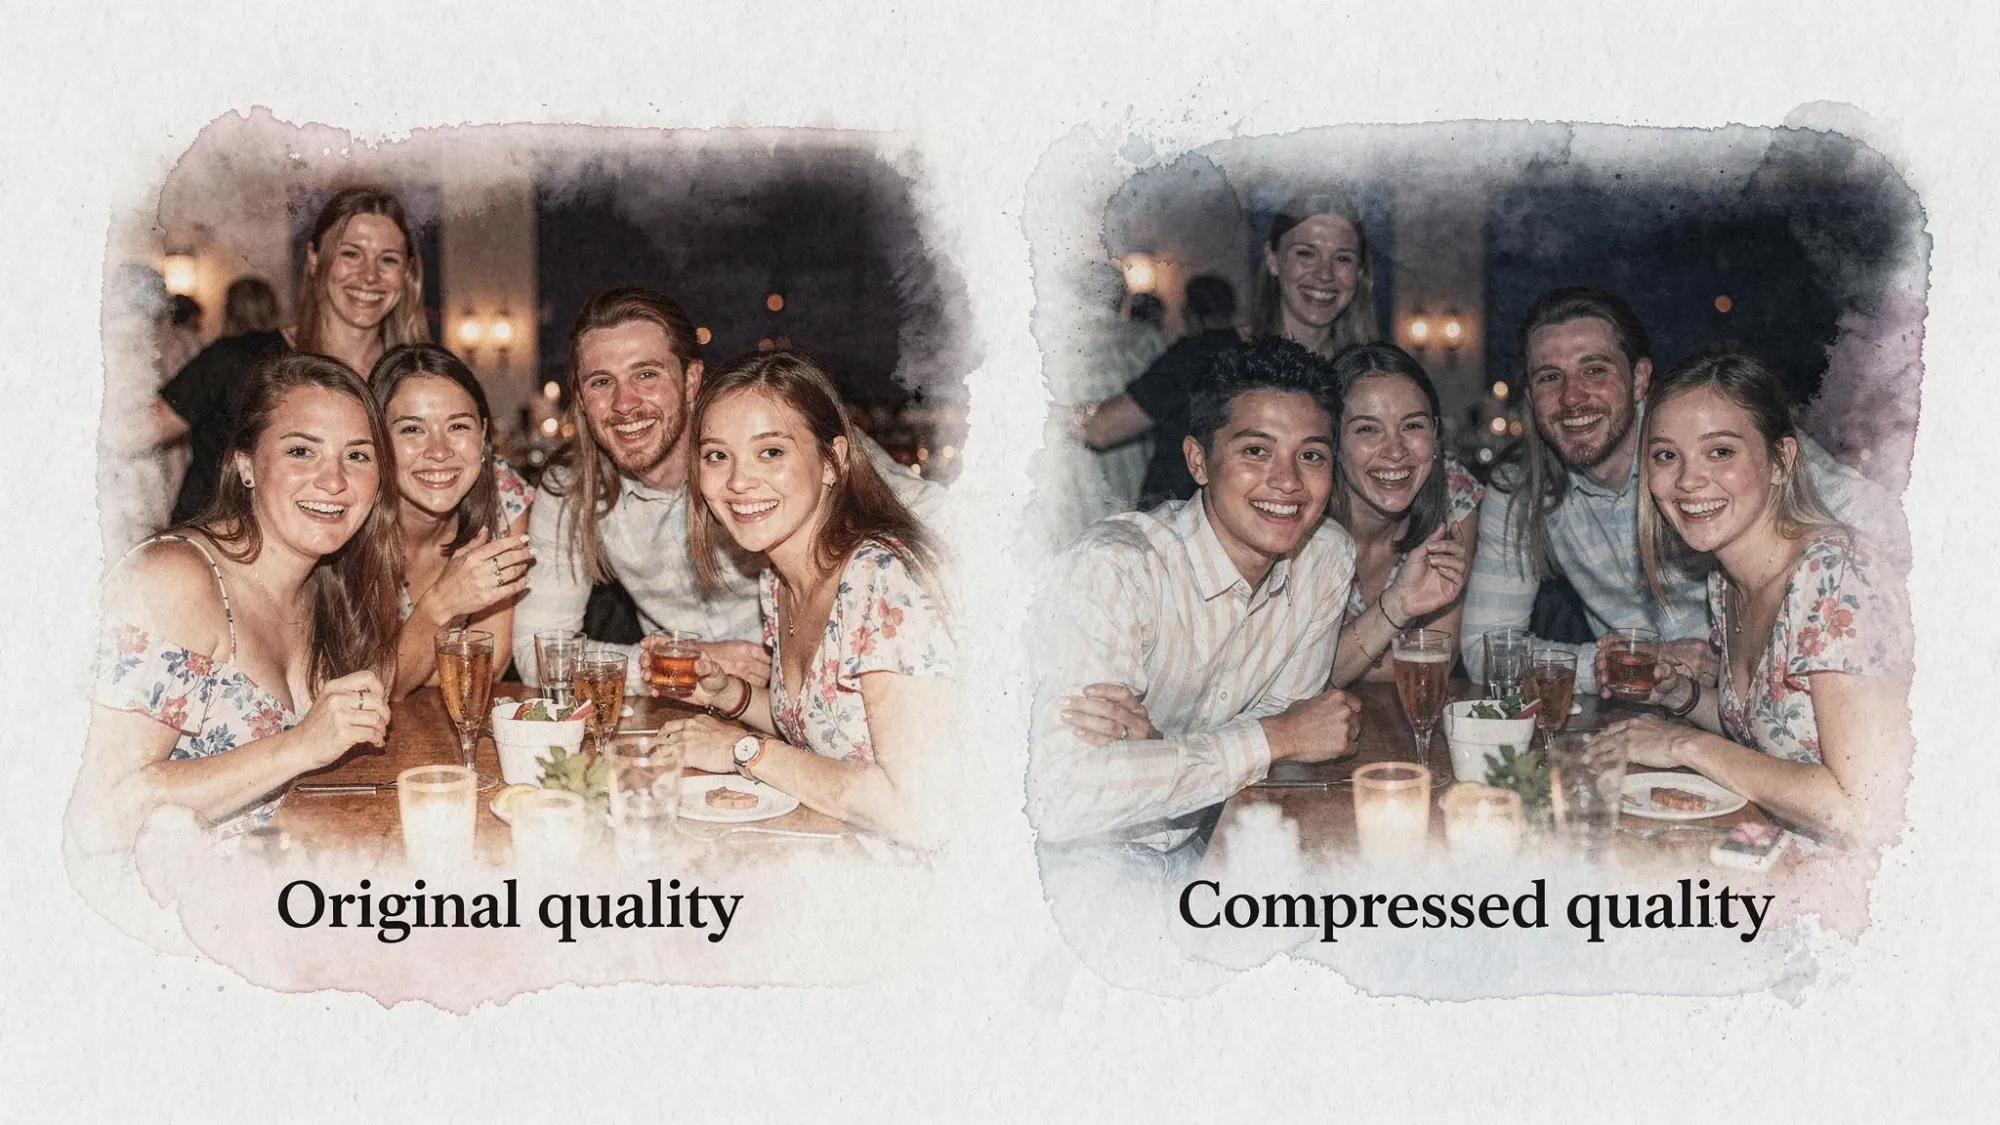
The silent killer: sharing methods that compress your photos
You can shoot perfectly and still end up with low-quality files if sharing is an afterthought.
Common compression traps:
- Posting to social and re-downloading
- Sending through many messaging apps
- Screenshotting instead of exporting
Better options (when quality matters):
- AirDrop (often keeps full quality between Apple devices)
- Cloud folders (Google Drive, Dropbox, iCloud Drive) uploaded as files, not as “shared album” social posts
- A single private gallery that keeps original uploads
If you’re coordinating an event, the “single destination” approach also solves the human problem: people forget to send photos later.
How to get a consistent retro look across a group (without policing everyone)
For weddings, brand activations, conferences, birthdays, and reunions, consistency matters because the gallery becomes a story. Here’s how to get a cohesive retro feel across dozens of phones.
Choose one “house look”
Pick one preset or filter family and commit to it for the event. Consistency creates the retro vibe more than any single effect.
A simple house look usually means:
- Slight warmth
- Moderate grain
- Mild fade (lifted blacks)
- Minimal vignette
Give guests one sentence of guidance
If you want guests to contribute photos that match the vibe, don’t send a paragraph. Give a single cue:
- “Use flash for dance floor pics.”
- “Stay on 1x, get close, take one or two.”
Add constraints (they improve both vibe and quality)
The disposable-camera feeling comes from scarcity and intention, not from bad files. Limiting the number of shots per person tends to reduce duplicates and encourages guests to shoot moments that matter.
This is also where an event-first photo workflow helps. With Revel.cam, hosts can create a private event gallery (a “Moment”), guests join instantly via QR code, NFC tag, or link, and photos upload automatically. Hosts can set per-guest limits and an end time, and review shots before sharing the final gallery.
If you’re running a branded event or small business activation, it’s also worth keeping the operational side tidy: when you’re paying for print runs, signage, or subscriptions, a lightweight invoicing tool like Kontozz can help you keep receipts and billing organized alongside your content workflow.
A practical “retro look, modern quality” recipe
This is a simple workflow you can repeat without turning your life into a Lightroom project.
Step 1: Capture in your native camera app
Aim for:
- Main lens (1x)
- Clean lens
- No digital zoom unless you truly need it
- One extra frame for safety (especially in motion)
Step 2: Edit with a retro camera app (or a preset-based editor)
Keep edits restrained:
- Add grain last, and keep it moderate
- Use fade/lifted blacks lightly (you still want separation in shadows)
- Watch skin tones (if faces go orange or gray, reduce the effect)
- Avoid extreme vignette (it can look dated fast)
Step 3: Export at full resolution
Before you share, confirm you are exporting a file (not a screenshot) and that the app isn’t defaulting to a smaller “share” size.
Step 4: Share through a non-compressing channel
If the photos matter, treat the share method as part of the camera system.
Common mistakes that make retro photos look “cheap”
Overdoing grain
Heavy grain can erase detail in faces, signage, and textures. If you can see grain clearly at arm’s length, it’s probably too much.
Crushing blacks into a single blob
A slight fade is retro. Flat black shadows with no detail is just low dynamic range.
Stacking effects across multiple apps
If you export from App A, then re-import to App B, then share to a chat, you’re repeatedly re-compressing. Try to keep it to one editing pass.
Editing for your screen brightness, not reality
If you edit on full brightness in a dark room, you’ll often underexpose and over-contrast. Make a quick check in normal lighting before you batch-edit the whole night.
Frequently Asked Questions
What is the best retro camera app for high quality photos? The best choice is the one that exports at full resolution and gives you control over how intense the effects are. For maximum quality, many people shoot in the native camera first, then apply a retro preset in an editor that supports high-quality export.
Do retro camera apps reduce photo quality? Some can, especially if they use a simplified in-app camera, apply heavy processing, or export smaller files by default. You can avoid most quality loss by capturing with your native camera and exporting at full resolution.
Why do my retro photos look blurry or muddy? The most common causes are motion blur (low light), digital zoom, a dirty lens, or heavy grain/softening effects. Fix the capture first, then reduce grain and blur-style effects.
How do I keep retro photos from getting compressed when sharing? Avoid sending the only copy through messaging apps or re-downloading from social media. Use file-based sharing (AirDrop or cloud storage) or an event gallery designed to keep original uploads.
How can I get a consistent retro look for wedding guest photos? Choose one “house preset,” give guests one sentence of shooting guidance (like “flash on the dance floor”), and use a single collection flow so everyone’s photos land in one place without post-event chasing.
Create the retro vibe for your event, and actually collect the photos
If you love the retro look because it feels candid and communal, the best move is to make photo sharing part of the event (not a week-later group chat request).
Revel.cam turns your event into a shared camera: guests scan a QR code or tap an NFC tag to snap and upload instantly, with no app install or signup. You can set photo limits to recreate the “one roll” feeling, review shots, and then reveal a clean, private gallery when the Moment ends.
Set up your next Moment at Revel.cam.
A writer interested in connection, memory, and the everyday moments that matter more than we realize.
Tags: Retro photo , Photography tips , Film roll app , Vintage camera apps , Disposable camera app