How to Take a Photo With QR Code Sharing for Your Event
Guests already have great cameras in their pockets. The hard part at events is not taking photos, it is getting everyone’s photos into one place without forcing downloads, logins, or awkward “airdrop me that later” follow-ups.
That’s where QR code photo sharing shines: you post a QR code around the venue, guests scan it, and they can take a photo and upload it in seconds.
What “take a photo with QR code sharing” actually means
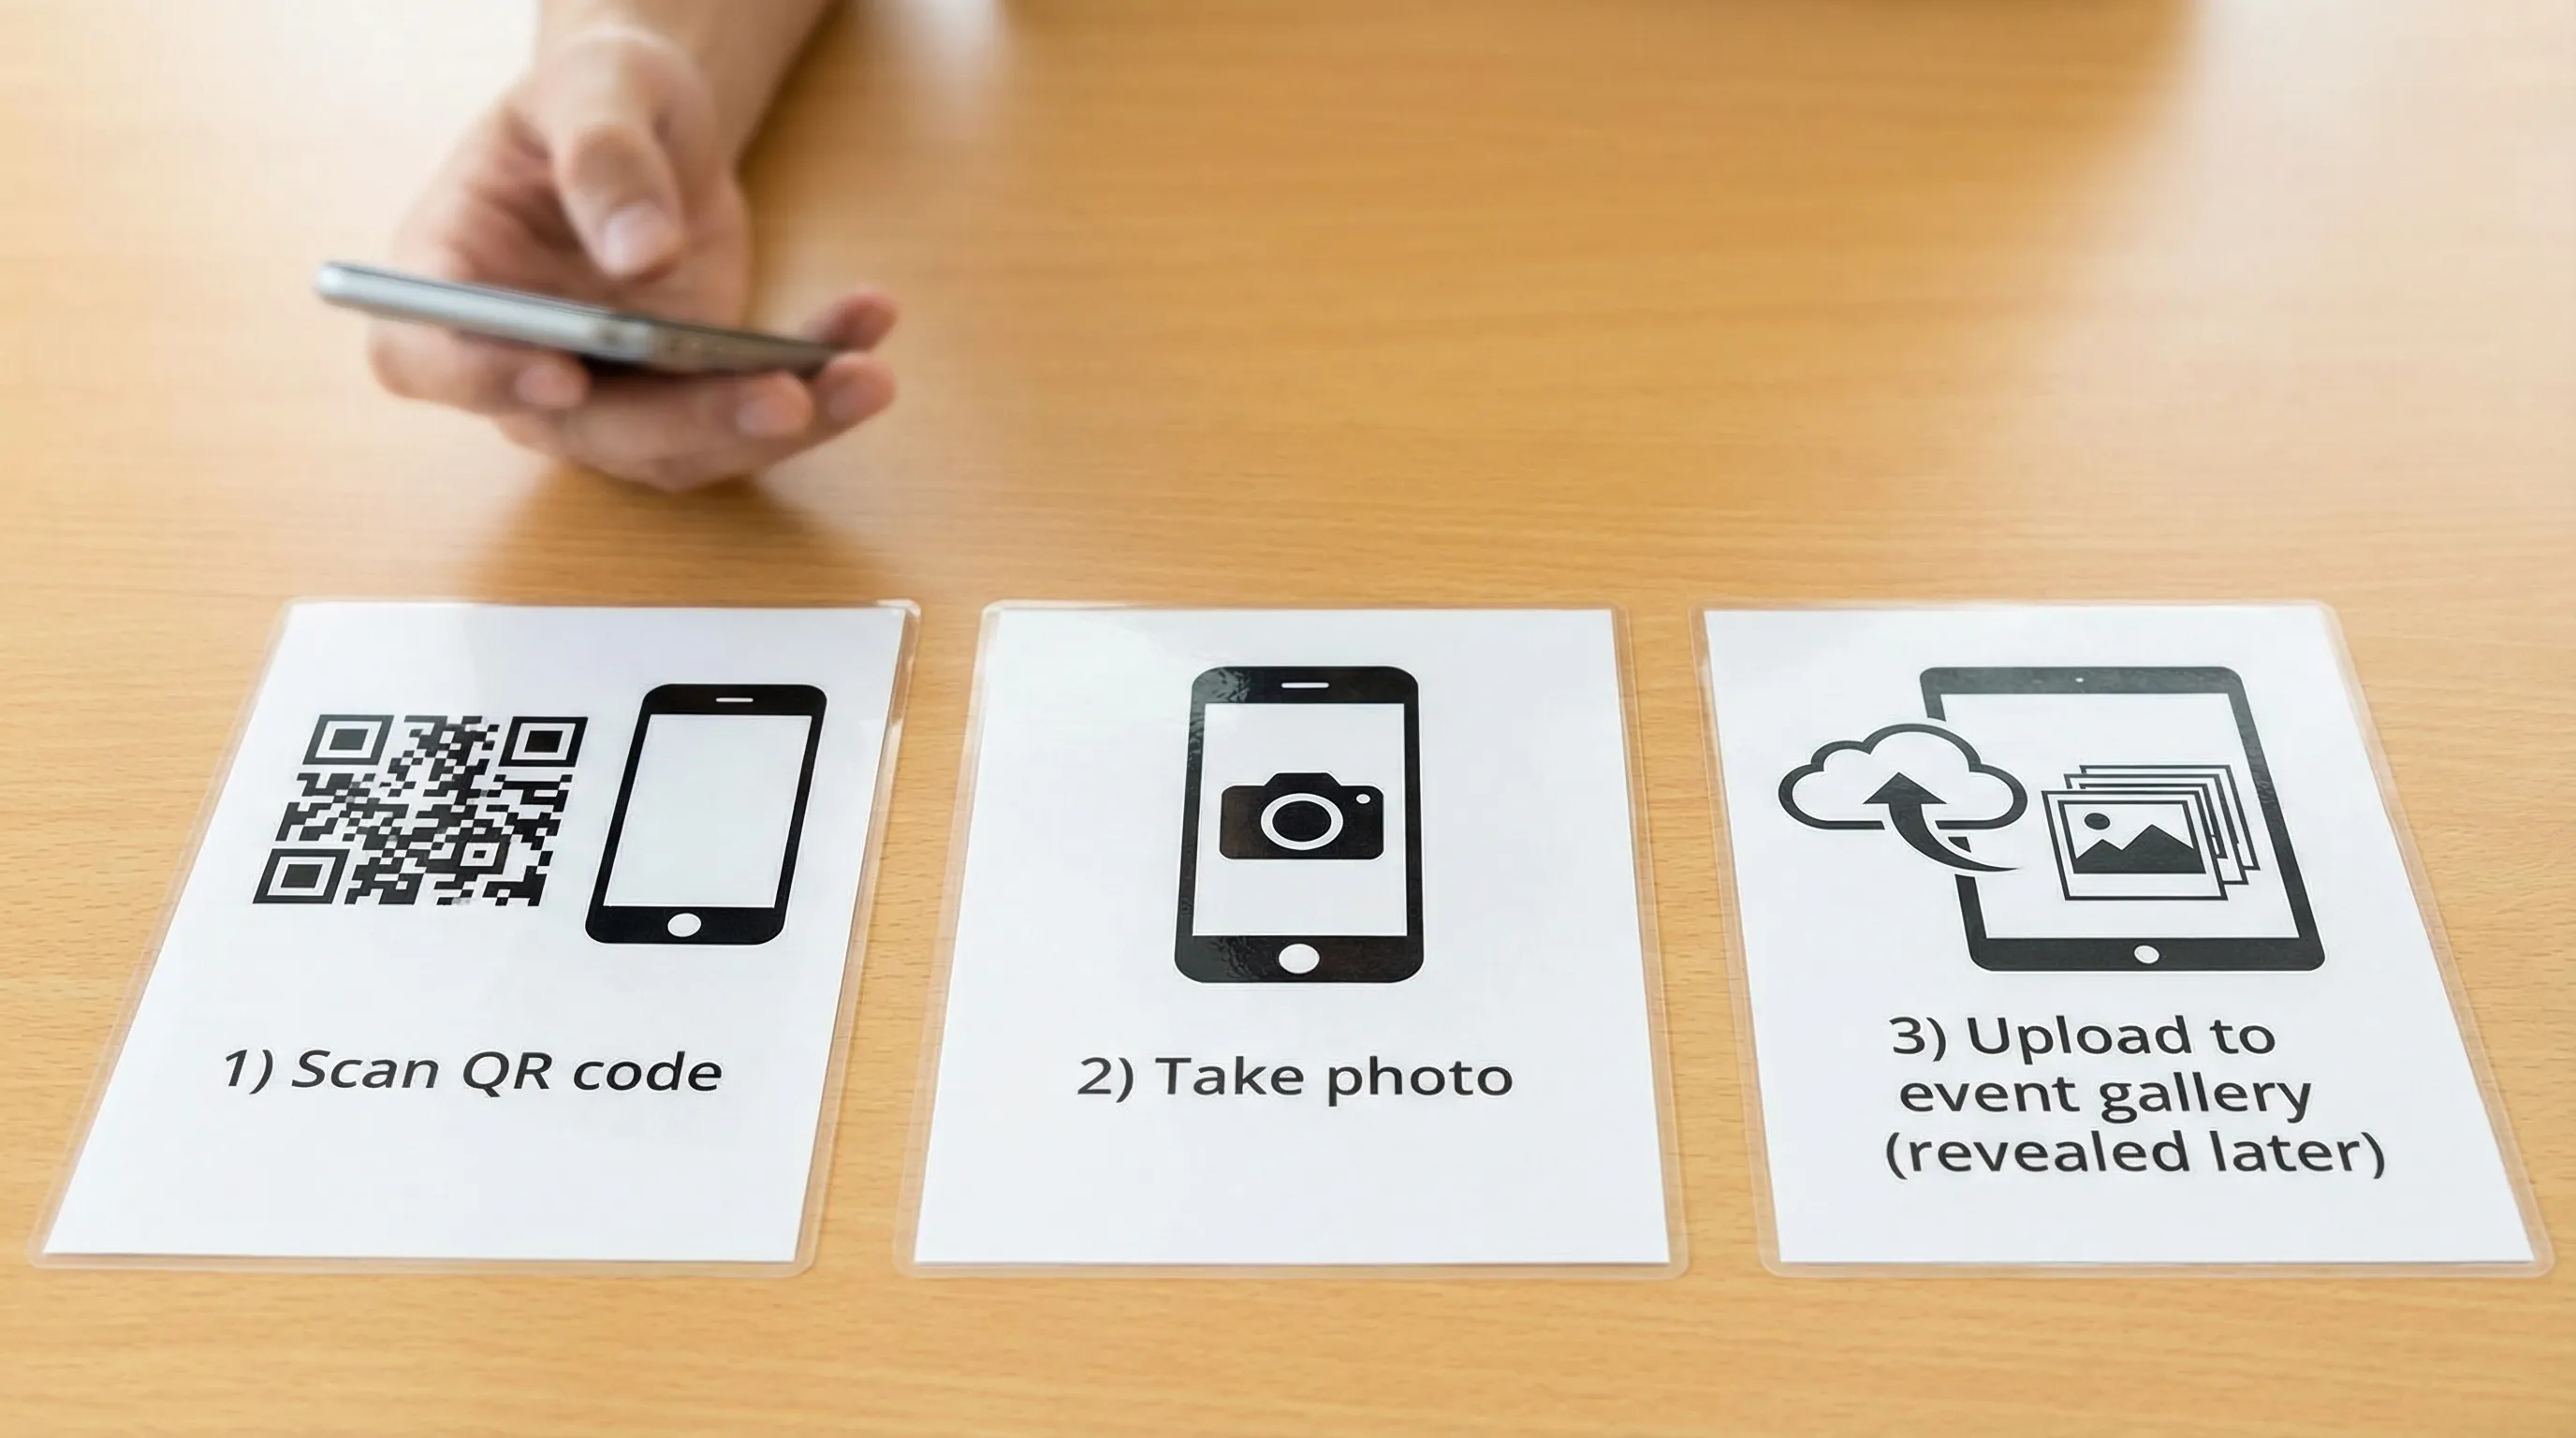
When people search “photo with qr code,” they usually want a simple flow:
- A guest scans a QR code.
- A camera page opens instantly on their phone.
- They snap a photo.
- The photo uploads to a shared event gallery.
The best implementations remove two common points of friction:
- No app install for guests.
- No guest account creation.
Modern mobile browsers support secure camera access on webpages when the site is served over HTTPS. (If you’re curious about the underlying tech, see MDN’s overview of MediaDevices.getUserMedia.)
Why QR code photo sharing works better than “shared albums” for events
Shared albums, hashtags, and group chats can work, but they often fail in the moment: people forget to upload, some guests do not use the same platform, and privacy settings get confusing.
QR code photo sharing is designed for the reality of events:
- It meets guests where they are (camera-ready, phone unlocked).
- It creates a single destination for photos, instead of scattered threads.
- It can be controlled (limits, moderation, delayed reveal) so the gallery stays on-brand and comfortable for everyone.
Quick comparison of common event photo collection methods
| Method | Best for | Main friction | Host control | Guest effort |
|---|---|---|---|---|
| QR code camera upload | Weddings, birthdays, brand events, conferences | Requires decent Wi-Fi/cell | High (limits, moderation, reveal timing) | Very low |
| Shared iCloud/Google album | Small groups already on the same ecosystem | Platform mismatch, invites | Medium | Medium |
| Social hashtag | Public events, marketing reach | People forget, privacy concerns | Low | Medium |
| Group chat uploads | Tiny friend groups | Compresses photos, messy threads | Low | Medium |
If your goal is a clean, complete gallery with minimal guest friction, QR code capture is typically the strongest option.
How to set up QR code photo sharing for an event (step by step)
The exact buttons vary by tool, but the structure is the same. Below is the practical setup that most reliably produces a full gallery.
Step 1: Create an event “Moment” (your shared camera)
Start by creating a dedicated event space that will receive uploads.
With Revel.cam, the idea is simple: you create a Moment, and Revel generates a QR code and link guests can use to open the camera and upload instantly.
What to look for in this step:
- A unique event link (so photos do not mix with other events)
- A QR code you can download/print
- Optional NFC support if you want tap-to-open in addition to scanning
Step 2: Choose your guest experience (instant capture, then gallery later)
A common mistake is unlocking the full gallery immediately. When guests can browse everything mid-event, attention drifts, and you may end up with photos circulating before you have reviewed them.
Revel.cam is built around a “digital disposable camera” experience: guests can take and upload photos right away, and the full gallery can be revealed after the event.
This structure tends to increase participation because:
- Guests do not overthink the perfect shot.
- Everyone gets the fun of the reveal together.
Step 3: Set guardrails (limits and moderation)
For events, especially weddings and brand activations, guardrails are a feature, not a restriction.
Common settings to consider:
- Photo limit per guest: encourages intentional shots and keeps the gallery manageable.
- Host review and approval: prevents accidental uploads (or that one prank photo) from becoming part of the official gallery.
- Live slideshow: great for receptions or conference booths when you want energy in the room.
Revel.cam supports host controls like limits and approval, so you can keep the gallery aligned with the event.
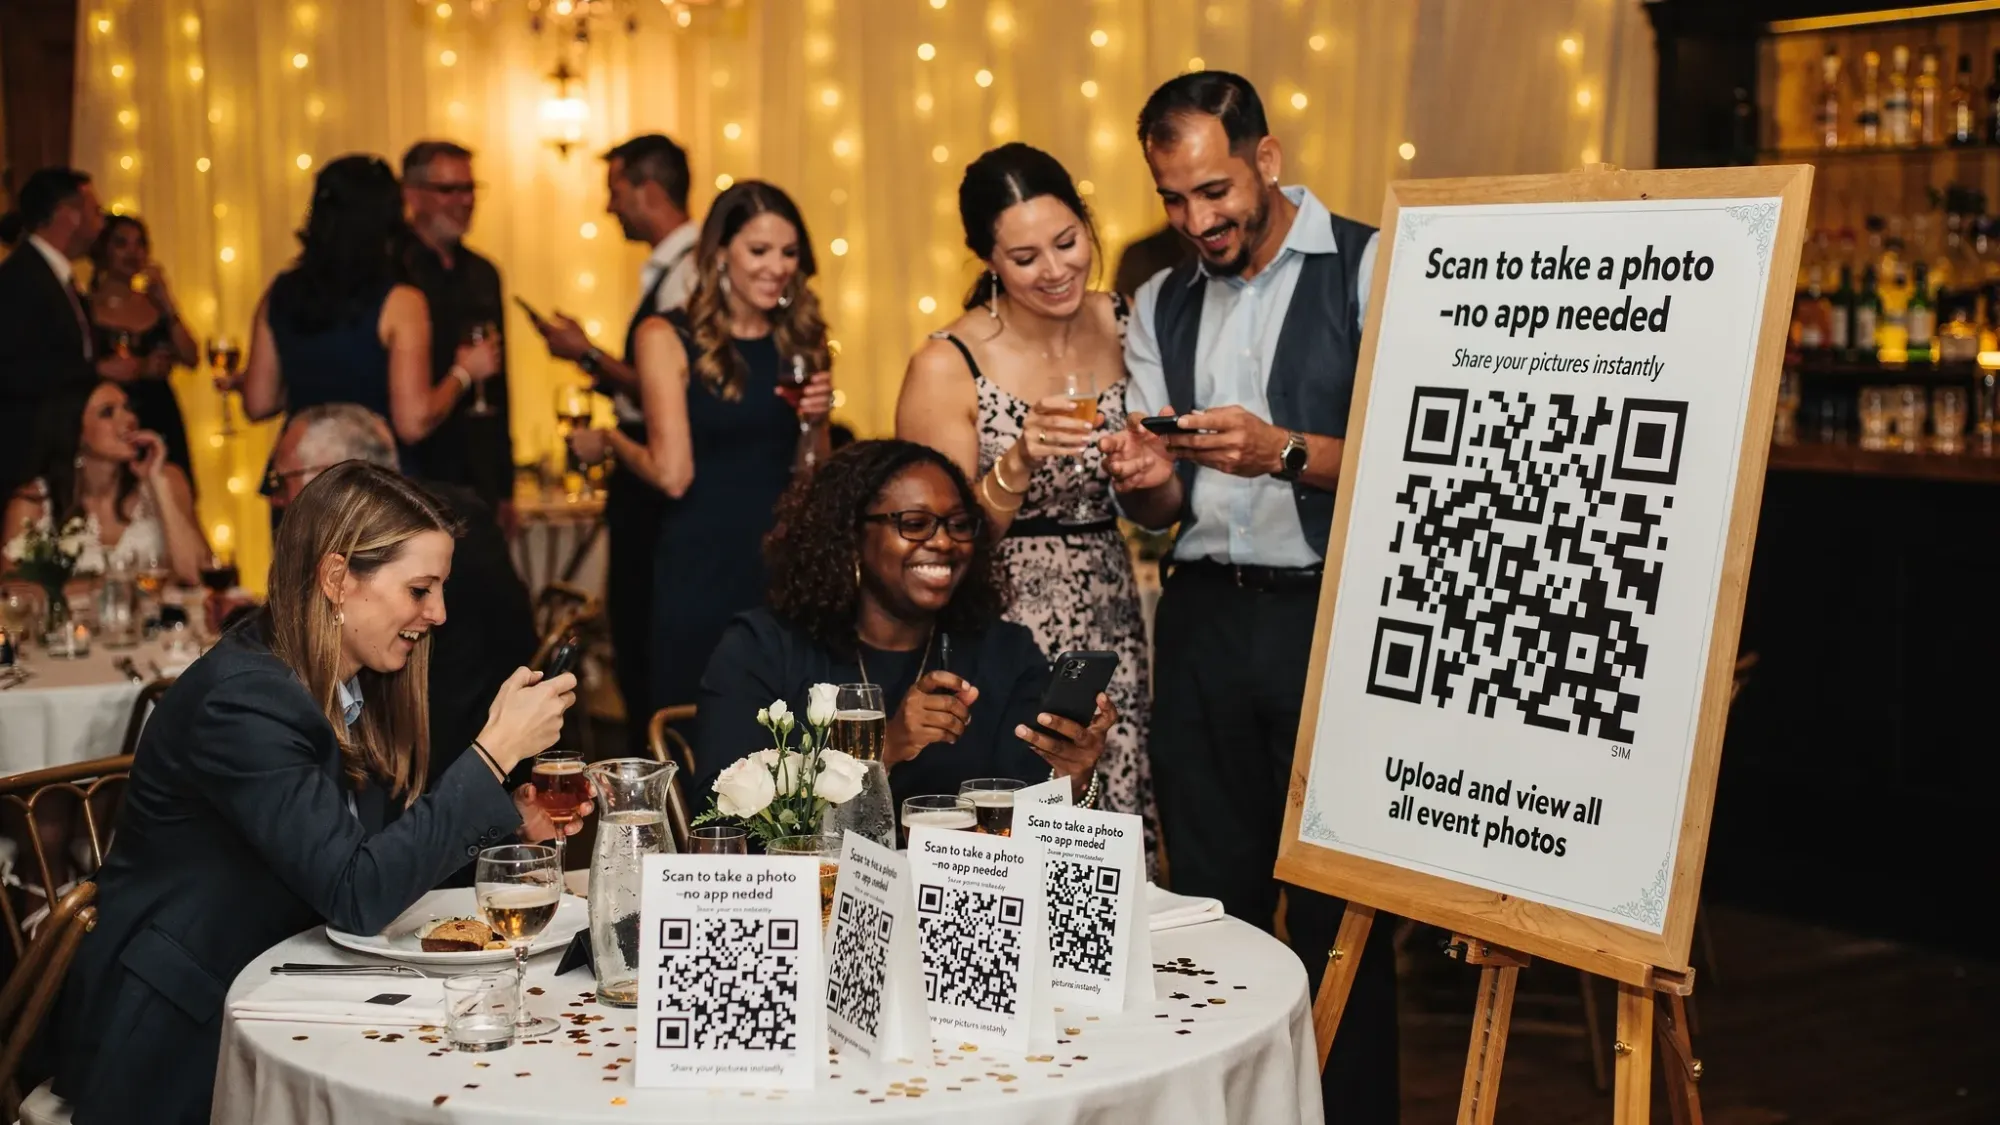
Step 4: Print and place QR codes where guests actually look
Placement matters as much as the tech. Make scanning effortless.
High-performing placements:
- Welcome sign near the entrance
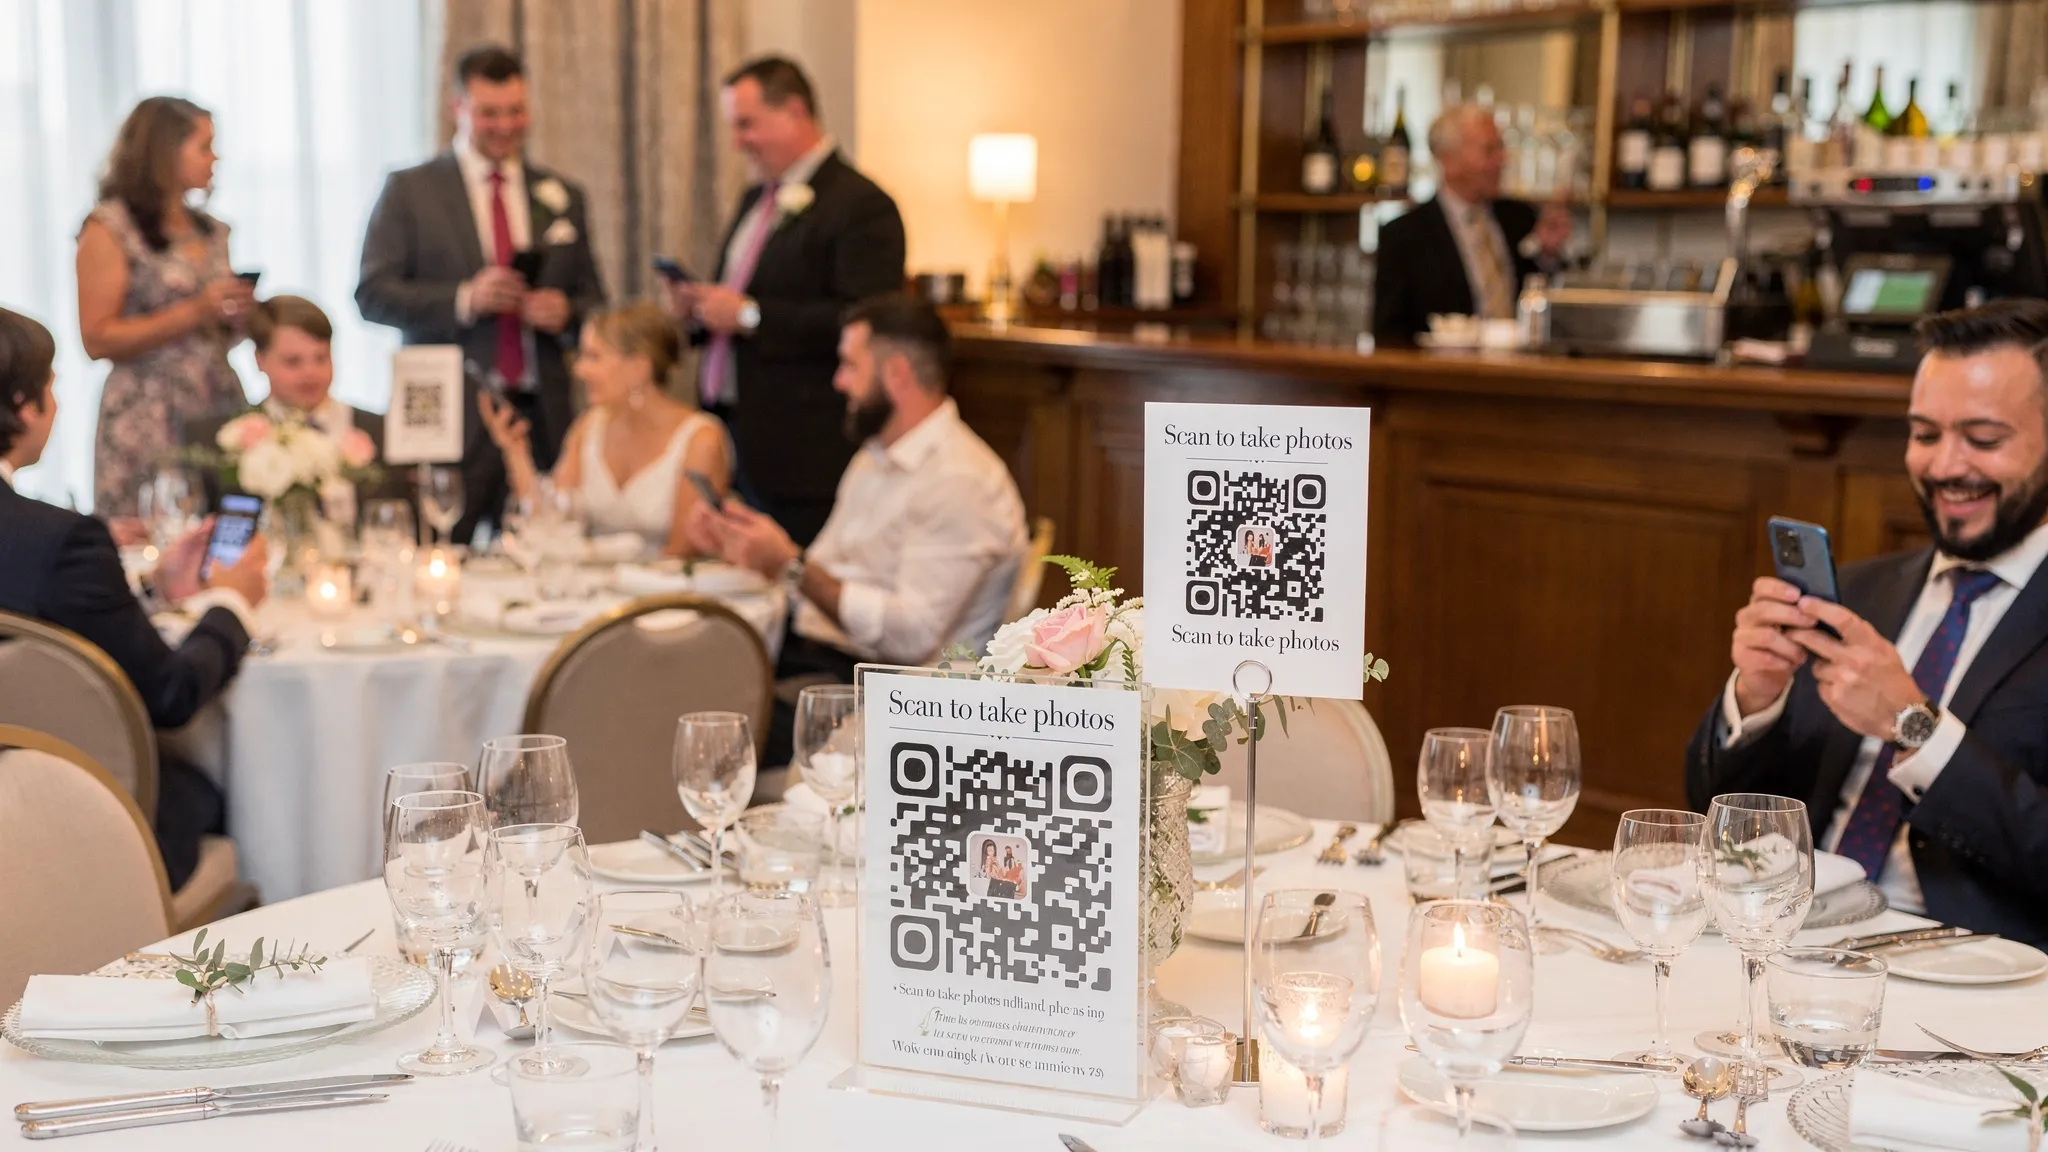
- Bar area (people stand there and have time)
- Dinner tables (small tent cards)
- Photo booth area
- DJ booth or stage edge
Avoid:
- Only one QR code on a single poster (it bottlenecks)
- Dark corners (scanning fails more often)
Step 5: Use “one sentence” instructions that remove doubt
Guests hesitate when they do not know what will happen after they scan.
Good signage copy is short and specific:
- “Scan to take a photo for the couple. No app, no signup.”
- “Snap and upload. Gallery unlocks after the party.”
If you have moderation enabled, you can say:
- “Uploads are reviewed before the gallery is shared.”
That line can increase comfort for family events.
Step 6: Test like a guest (on iPhone and Android)
Before the event starts:
- Scan the QR code using the default camera app on an iPhone.
- Scan on an Android phone.
- Take a photo, upload it, then confirm it appears correctly in the host view.
If you’re using iOS App Clips or deep links, confirm the open experience feels instant and clear. (Apple’s reference: App Clips documentation.)
Best practices that dramatically increase guest participation
QR code photo sharing is simple, but small choices change results.
Put the QR code in multiple places (and sizes)
A good rule is: one QR code per “zone”.
- Entry zone
- Seating zone
- Bar zone
- Dance zone
Also vary size:
- Large poster for visibility
- Table tents for convenience
Make Wi-Fi easy (or at least predictable)
Uploads need connectivity. If reception is weak, provide a guest Wi-Fi network and display the password near the QR codes.
If you cannot guarantee strong Wi-Fi everywhere, place your QR codes where signal is best (often near windows or main rooms rather than back hallways).
Encourage “in the moment” photos
The photos people love later are often candid.
To steer guests toward those:
- Use language like “candid photos welcome” or “capture the fun”
- Place QR codes near action (dance floor, toast area)
Use a live slideshow carefully
A live slideshow can be a highlight, but use it intentionally:
- Great for brand activations and upbeat receptions
- Less ideal for intimate events if guests might feel watched
If you do display photos live, moderation becomes more important.
A simple checklist for hosts (before, during, after)
| Timing | What to do | Why it matters |
|---|---|---|
| Before the event | Test QR scan on iOS and Android | Catches camera permission or link issues early |
| Before the event | Print multiple QR codes and place them by zones | Prevents bottlenecks, increases participation |
| During the event | Make one quick announcement (30 seconds) | Many guests need a prompt to actually scan |
| During the event | Monitor uploads periodically (if moderation is on) | Keeps the gallery clean and reduces surprises |
| After the event | Reveal the gallery at a defined time | Creates a shared moment and drives re-engagement |
Common issues (and quick fixes)
“The QR code scans, but nothing happens”
Most often this is:
- A printing issue (low contrast, glare)
- A broken link (copied incorrectly)
- A venue connectivity problem
Fixes:
- Reprint with higher contrast and a larger code
- Add a short fallback URL under the QR code
- Move one code to a better-signal area
“Guests say it asks for camera permission”
That is normal for browser-based camera capture.
Your signage can preempt confusion: “When prompted, tap Allow Camera.”
“I’m worried about inappropriate uploads”
Choose a setup that supports host review/approval and consider keeping the gallery unrevealed until after you’ve done a quick pass.
“Some guests don’t want to be on social media”
This is exactly where QR code sharing helps. You can keep the gallery private and reveal it only to attendees, rather than pushing photos onto public platforms.
When Revel.cam is a good fit for QR code event photos
If you want guests to take a photo with QR code access, Revel.cam aligns with the most common event requirements:
- Guests can join by scanning a QR code (no signup)
- Hosts can set photo limits per guest
- Hosts can review and approve photos
- The gallery can be revealed after the event for a true “disposable camera” vibe
- Optional live slideshow for in-venue energy
- Works on iOS and Android
If your event goal is a shared, authentic gallery without asking guests to download yet another app, this model tends to outperform shared albums and hashtag-based collecting.
Frequently Asked Questions
Do guests need an app to take a photo with QR code sharing? In the best QR code photo flows, no. Guests scan the QR code and the camera opens in a web-based experience, so there’s no app install or account required.
Can I limit how many photos each guest uploads? Yes. Setting a photo limit per guest is a popular way to keep the gallery curated and encourage more intentional shots.
Can I review photos before everyone sees them? Yes, if your platform includes moderation tools. Host approval is especially useful for weddings, school events, and brand activations.
Will QR code photo sharing work on both iPhone and Android? It should. Always test on both before the event, because the scanning behavior and permission prompts can look slightly different.
What’s the best place to put the QR code at a wedding or party? Put it where guests pause: entry sign, bar, and table tents. Multiple QR codes across the venue consistently outperform a single sign.
Create your QR code camera in minutes
If you want an easy way to let guests take a photo with QR code access and automatically build a shared gallery, you can set up a Moment on Revel.cam. Create your event, print the QR code, set limits and approvals if you want them, then reveal the gallery when your Moment ends.

A writer interested in connection, memory, and the everyday moments that matter more than we realize.
Tags: QR code for photos , QR photo sharing , Event photo sharing , QR code camera , Event photo collection , Guest photo uploads , Guest photo capture , Guest photo sharing