Event Photos: How to Collect, Curate, and Share in One Place
Most events don’t have a “photo problem.” They have a workflow problem.
The photos exist, on dozens or hundreds of phones, across iMessage threads, WhatsApp groups, AirDrop attempts, shared albums that nobody joins, and “I’ll send it later” promises that never happen. The result is predictable: you miss half the story, you waste hours chasing uploads, and you still end up with an incomplete set of memories.
This guide gives you a simple, repeatable system to collect, curate, and share event photos in one place, whether you’re hosting a wedding weekend, a birthday party, a corporate offsite, or a conference.
What “in one place” really means (and why it matters)
“In one place” is not just a folder with files. A good event photo system does four jobs at once:
- Capture: Guests can contribute instantly, while the moment is happening.
- Organize: Photos land in a single event container (not scattered across personal devices).
- Control: You can set boundaries (privacy, moderation, timing, limits).
- Share: You can reveal the gallery when you’re ready, to the right people.
If any one of these breaks, participation drops and curation becomes a cleanup project.
Step 1: Choose a collection method that matches human behavior
The best event photo solution is the one people will actually use in real life, in dim light, with one hand, in a hallway, between conversations.
Here’s a practical comparison of the most common approaches.
| Method | Why it’s popular | Where it breaks | Best for |
|---|---|---|---|
| Group chat (iMessage, WhatsApp, etc.) | Everyone’s already in it | Photos get buried, compressed, off-topic, and socially awkward to spam | Very small friend groups |
| Shared cloud album (iCloud/Google Photos) | Feels “organized” | Joining requires steps, accounts, and post-event effort | Families who already share albums |
| AirDrop | Fast in theory | Requires proximity, repeats, and constant asking | Small clusters in one room |
| Hashtag/social posting | Easy to explain | Public by default, inconsistent, not brand-safe | Public-facing activations |
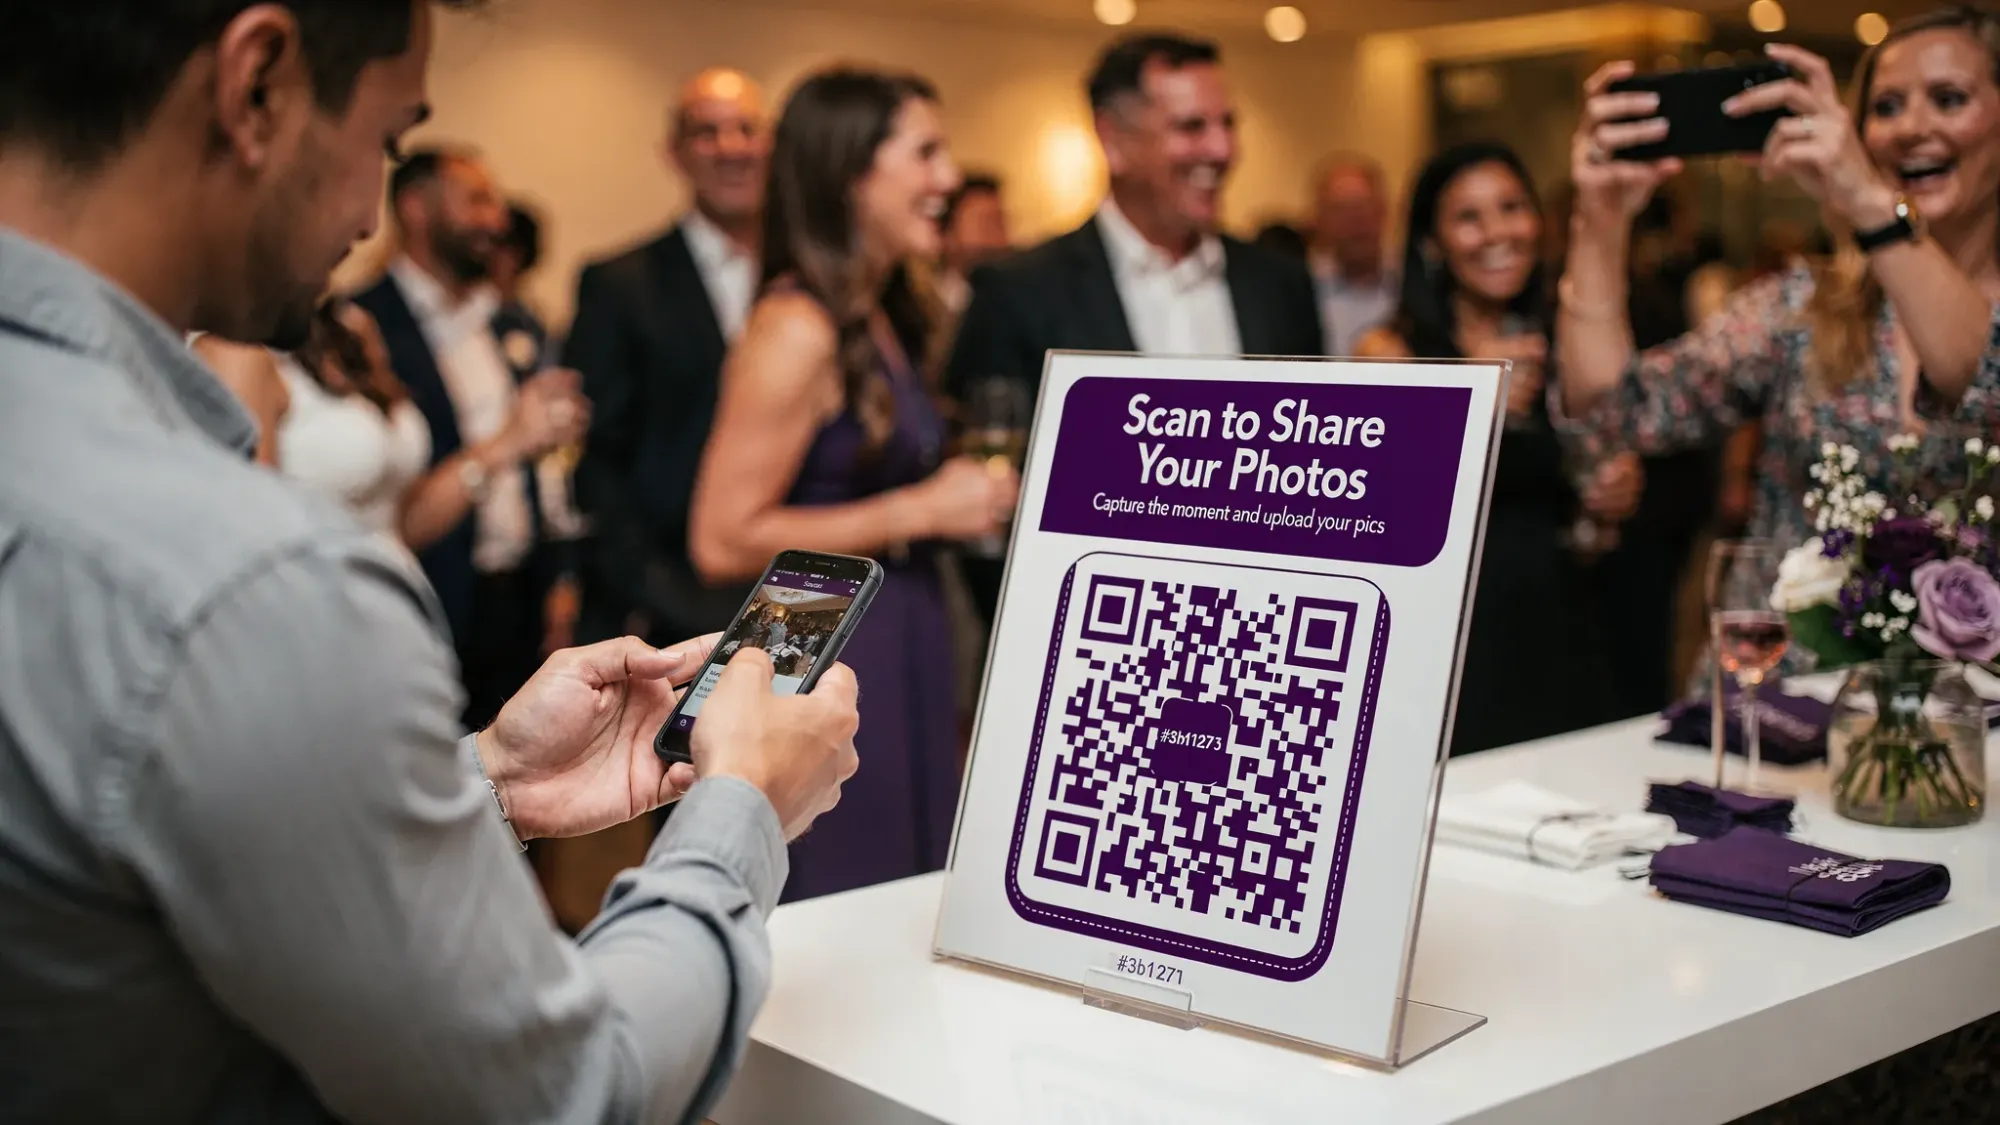
| QR-based event camera (single shared gallery) | One-tap participation | Needs good signage placement and a clear prompt | Most events, especially mixed-tech guests |
If you’re optimizing for “one place,” QR-first capture tends to win because it reduces friction at the exact moment someone is willing to share.
Step 2: Design the collection flow (before the event starts)
The difference between “we got a few photos” and “we got everything” is usually setup.
Create one event container, not five
Whether you call it an event, album, or (in Revel.cam) a Moment, keep contributions flowing into a single destination. Splitting by table, by day, or by activity sounds organized, but it creates decision fatigue for guests.
A single container also makes curation faster because you can sort and filter in one place.
Decide your three guardrails
These guardrails are what make a shared gallery feel intentional instead of chaotic:
- Who can join: Keep it invite-only for personal events, or tightly controlled for corporate events.
- How many photos per guest: Limits increase quality and reduce noise.
- When uploads end: An end time prevents random late uploads and gives you a clean “wrap.”
Revel.cam supports all three: hosts set guest limits, per-guest photo limits, and a Moment end time, then guests join via QR code, NFC tap, or a link.
Plan your “touchpoints,” not just one QR code
One QR code at the entrance helps. Three to six touchpoints perform better.
Good touchpoints are places people naturally pause:
- Welcome sign or check-in table
- Bar or coffee station
- Table tents
- Program cards (weddings)
- Badge pickup (conferences)
- Photo booth area, even if it’s DIY
Your goal is not to explain. It’s to make joining unavoidable in a friendly way.

Step 3: Make participation feel effortless (during the event)
Even a perfect system fails if guests hesitate. Participation is mostly psychology.
Use one sentence of instruction
If your sign needs a paragraph, people skip it.
Effective microcopy examples:
- “Scan to take photos for the gallery. No app, no signup.”
- “Tap or scan, snap a pic, it uploads automatically.”
- “Help us capture tonight. Add your photos here.”
Revel.cam is designed for this exact behavior: guests scan a QR code (or tap NFC) and go straight to the camera. On iPhone, it can launch as an App Clip, which is built for lightweight, instant experiences (see Apple’s overview of App Clips).
Assign two “photo captains” (high leverage, low effort)
Pick two people who are social and attentive, not necessarily “camera people.” Their job is to:
- Scan early
- Take the first few photos
- Remind nearby guests once or twice
When guests see other people using the flow, the social proof does the work.
Consider a timed “gallery reveal” instead of immediate sharing
Instant galleries are convenient, but delayed reveals often increase participation because it creates anticipation and reduces self-consciousness.
A simple pattern:
- Event night: capture only
- Next morning (or next Monday for corporate): host reviews, then shares
Revel.cam supports this by revealing the gallery when the Moment ends, with optional host review and moderation before sharing.
Step 4: Curate like an editor (not like a file manager)
Curation is where “a dump of images” becomes “the story of the event.”
Start with a fast first pass
Don’t overthink it. Your first pass is purely to remove:
- Accidental pocket shots
- Duplicates (keep the best)
- Anything private or off-brand
If you’re hosting a corporate event, this is also where brand safety lives. (If you need a corporate-specific playbook, Revel.cam has a deeper guide on keeping QR photo sharing private and brand-safe.)
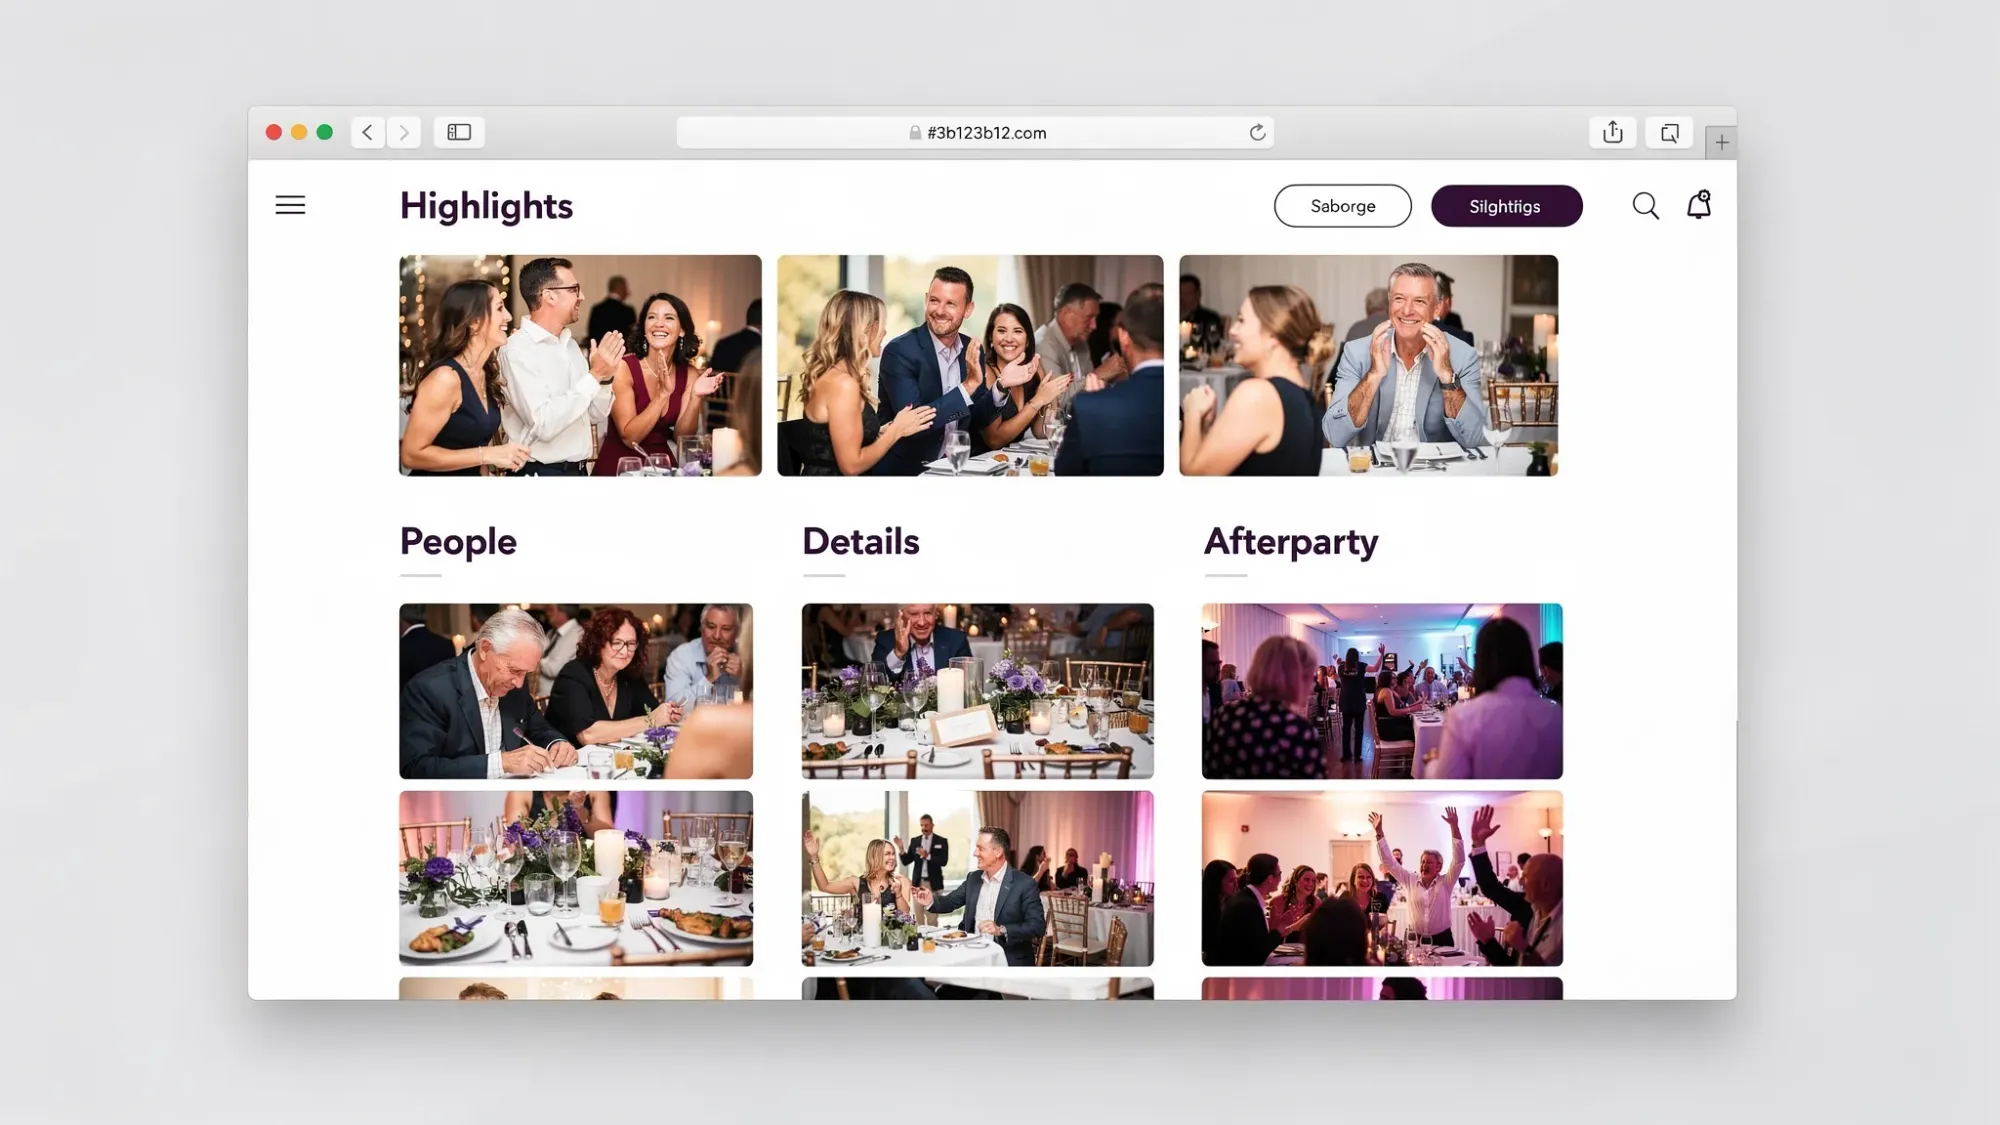
Then build a simple structure that people will browse
Instead of 400 photos in one scroll, create “chapters.” The exact feature set depends on your gallery tool, but the structure is universal:
- Highlights: the 25 to 60 photos that tell the story
- People: group shots, candid reactions, portraits
- Details: decor, food, signage, behind-the-scenes
- Afterparty / informal: the photos that feel like “you had to be there”
This also helps different audiences self-select. Executives open Highlights, friends open Afterparty.
Add context while it’s still fresh
Within 48 hours, add whatever light metadata you can:
- Rename the gallery to something searchable (“Acme Summit 2026,” “Maya + Jordan Wedding Weekend”)
- Add a short description (location, date)
- If you’re sending a follow-up, mention what to look for (“Check the Highlights album first”)
That tiny layer of context dramatically increases sharing and rewatching.
Step 5: Share in a way that fits the event’s privacy level
Sharing is not one decision, it’s a ladder.
For personal events (weddings, birthdays, trips)
A good default:
- Share the full gallery privately with attendees
- Send a small “favorites” set to family members who want the best moments quickly
If you’re combining guest photos with a professional photographer, keep them as two layers: pro delivery for polished coverage, guest gallery for candid perspective. (This avoids the common expectation mismatch where people compare unedited guest photos to edited pro work.)
For corporate events (offsites, conferences, client activations)
A good default:
- Host reviews first
- Share a curated set internally
- Export a smaller selection for marketing, with approvals
If you work with a comms or brand team, align on usage before you share. Even if the event is private, photos often end up in decks, recruiting, and social.
A practical “one place” event photo checklist
Use this as your minimum viable plan:
- Pick one collection method that requires the fewest steps for guests
- Put QR/NFC touchpoints in 3 to 6 natural pause locations
- Set guardrails (who can join, photo limits, end time)
- Appoint two photo captains to seed participation
- Do a first-pass review, then curate into Highlights + chapters
- Share the gallery once, clearly, with a single link
If your current process does not support this checklist, it’s a sign you need a more event-native tool.
How Revel.cam fits the “collect, curate, share” system
Revel.cam is built specifically for event photos:
- Collect: Guests scan a QR code or tap an NFC tag to open the camera and upload instantly, with no signup or app install required.
- Curate: Hosts can review and remove unwanted images before sharing.
- Share: When the Moment ends, the gallery is revealed, so you can create a clean, intentional handoff.
If you want the QR strategy in more depth (placements, sizing, troubleshooting), this companion guide may help: QR photo: The complete guide to collecting wedding photos from guests.
Frequently Asked Questions
How do I collect event photos from guests without chasing them later? Use a capture flow that works during the event, not after. QR-based “scan, snap, upload” systems collect more photos because guests contribute in the moment.
What’s the easiest way to get event photos into one place? A single shared event gallery that guests can join instantly is the simplest. The key is minimizing steps, ideally no accounts, no app install, and no manual uploading.
Should I share the gallery live or after the event? If you want maximum participation and less self-consciousness, a delayed reveal often works better. If your goal is energy and engagement on-site, a live view can be great.
How do I keep event photos private? Use an invite-only gallery, avoid public hashtags, and choose a system that supports host review. For corporate events, moderation before sharing is a strong default.
Can guest photos replace a professional event photographer? They can complement coverage and capture candid perspectives, but they rarely replace consistent lighting, composition, and deliverables. The strongest approach is usually professional coverage plus a guest photo layer.
Collect and share event photos without the post-event mess
If you want event photos in one place, the fastest path is a workflow guests will actually use: scan a QR code, take the photo, and let it upload automatically.
Create a Moment on Revel.cam and share it via QR code, NFC, or a link. You’ll get one private gallery, built-in limits, host review, and a clean reveal when the event ends.

A writer interested in connection, memory, and the everyday moments that matter more than we realize.
Tags: Event photo collection , Event photography , Shared event photos