Disposable Film Developing: Common Mistakes That Ruin Rolls
Disposable cameras are fun because they feel simple. But disposable film developing is not forgiving. One “small” mistake, like leaving cameras in a hot car after the reception or letting them go through checked-baggage X-ray, can turn an entire roll into muddy colors, streaks, or blank frames.
This guide breaks down the most common mistakes that ruin rolls, why they happen, and what to do instead, especially if you’re collecting disposable cameras from a wedding, party, or corporate event.
What “developing” a disposable camera actually includes
People often say “develop the disposable,” but there are usually three separate steps:
- Processing: the lab chemically develops the film (most disposable cameras are 35mm color negative film processed in C-41).
- Scanning: the lab digitizes the negatives so you can view and share photos.
- Printing (optional): physical prints made from the negatives or scans.
A roll can get “ruined” before any of that happens. In practice, the biggest problems come from heat, light exposure, moisture, X-ray/CT scanning, and lab mismatches (wrong process, poor scanning choices, or weak handling).
The fastest way to spot trouble: a mistake-to-symptom table
| Mistake | What you’ll see later | Why it happens | The fix |
|---|---|---|---|
| Leaving cameras in a hot car or near a heater | Weird color shifts, extra grain, foggy frames | Heat accelerates film degradation | Keep cameras indoors, cool, and out of sun; develop ASAP |
| Airport scanning (especially checked bags) | Fogged, low-contrast images across many frames | High-energy scanners can affect film | Carry-on film, request hand check where possible, avoid checked baggage |
| Storing cameras for months before developing | Faded colors, flat contrast, worse scans | Latent image can degrade over time, plus heat/humidity risk | Build a “developing deadline” into your event plan |
| Opening the camera (even “just to check”) | Many or all frames blank/washed out | Light hits the film directly | Never open; tape over the back seam if you’re worried |
| Water exposure (rain, coolers, bathrooms) | Water spots, fungus risk, stuck film | Moisture damages the emulsion and camera mechanics | Bag the cameras, use sealed collection bins |
| Sending the wrong film type to the wrong lab | Severe color problems or unusable output | C-41 vs E-6 vs black-and-white chemistry | Confirm film type and lab process before you drop off |
| Choosing low-resolution scans | Looks soft, “worse than I remember” | Scan resolution is too low for cropping/printing | Ask for high-res scans for keepers or albums |
| Mailing film poorly (thin envelope, no tracking) | Lost rolls, crushed cameras, light leaks | Handling damage in transit | Use a rigid box, padding, and trackable shipping |
Mistake #1: Heat is the silent roll-killer
For event hosts, heat damage is the most common “how did this happen?” issue.
Disposable cameras often get tossed into:
- a car trunk after the party
- a bag near a window
- a box stored in a garage
- a pile on a DJ table under lighting
Film is sensitive to temperature. Sustained heat can cause color shifts, extra grain, and overall fogging. Even if the roll is technically developable, the final scans can look dull and off.
What to do instead
Keep collected cameras:
- in a cool, dry place
- out of direct sunlight
- away from heaters, radiators, and hot electronics
If you’re running a wedding weekend, assign someone (planner, coordinator, trusted friend) to do a quick end-of-night sweep and move cameras to a safe indoor spot.
Mistake #2: Letting disposable cameras go through airport scanners
If you travel with unused disposables for a destination wedding or pack shot cameras in luggage afterward, airport scanning can be the difference between “dreamy nostalgia” and “gray fog.”
The risk varies by scanner type and settings, but a safe general rule is:
- Avoid checked baggage for film.
- Carry film with you when possible.
The U.S. Transportation Security Administration (TSA) has guidance on film and screening, including the option to request a hand inspection in some situations. See the TSA page on film and camera screening.
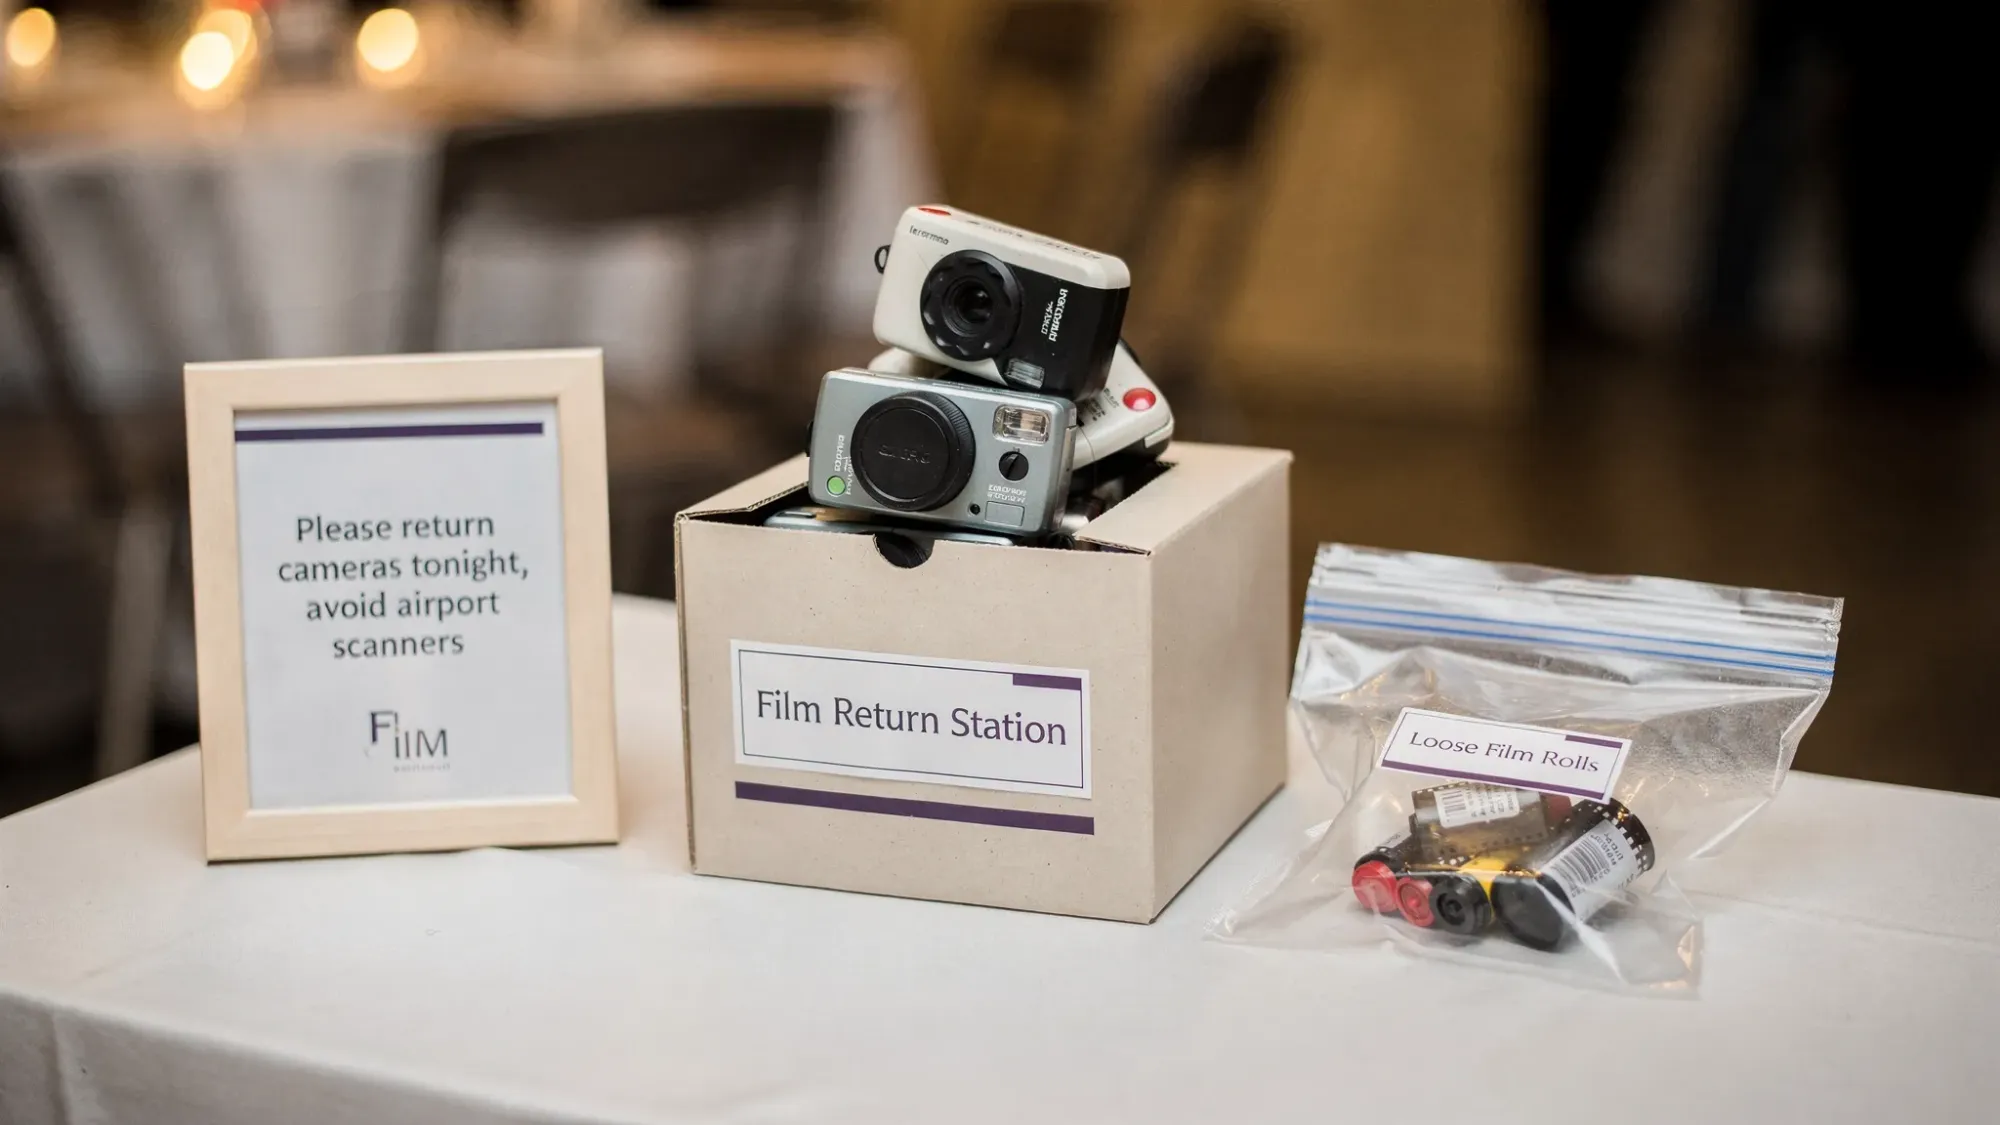
Event-specific tip: If guests are flying home with disposables from your wedding, a simple sign near the collection box can prevent heartbreak, for example: “Leaving tomorrow? Please drop your camera here tonight so it doesn’t go through airport scanners.”
Mistake #3: Waiting too long to develop (especially after an event)
A common disposable camera storyline:
“Everyone had fun, we collected the cameras… and then they sat in a drawer until our anniversary.”
Even when stored decently, time increases the chance of:
- heat exposure during daily life
- humidity and moisture problems
- batteries leaking (rare, but not impossible over long periods)
- lost cameras (the most brutal outcome)
What to do instead
Set a firm “processing week.” For most events, a good rule is to get the cameras to the lab within a week or two of the event ending.
If you’re collecting cameras from multiple tables, treat it like vendor wrap-up:
- count cameras at pickup
- label the container with the total
- confirm the lab drop-off date
Mistake #4: Moisture and condensation (coolers, rain, bathrooms)
Disposable cameras are often left where drinks are served. Condensation from coolers, spilled cocktails, or rain during an outdoor ceremony can cause:
- warped labels that hide which camera is which
- gunk in the winding mechanism
- water damage to film if it penetrates the camera
What to do instead
Use a collection container that is:
- covered (lid or slot)
- placed away from the bar and bathrooms
- clearly marked
If you’re doing “one per table,” consider adding a simple zip bag at each table for the camera to live in when not being used.
Mistake #5: Opening the camera back or forcing the advance wheel
This is the classic: someone thinks the camera is “stuck,” opens it to check, and accidentally exposes the film.
With most disposable cameras, opening the back can instantly ruin multiple frames or the entire roll. Forcing the wheel can also tear sprocket holes or jam the film, creating uneven spacing or partial frames.
What to do instead
- Add a tiny instruction card: “If it feels stuck, don’t open it. Just set it down.”
- Tape over the back seam before placing cameras out (not required, but it can discourage curiosity).
Mistake #6: Using a lab that can’t (or won’t) handle your film correctly
Most disposable cameras are straightforward C-41 color negative film, but mistakes still happen at the counter.
Common lab-related failure points:
- The lab sends everything off-site and the order gets delayed or misplaced.
- The lab defaults to low-res scans without asking.
- The lab doesn’t return negatives unless you request them.
- The film type is unusual (less common for disposables, but possible) and gets processed incorrectly.
What to do instead
Before you hand over a stack of cameras, ask:
- Do you process C-41 in-house or send it out?
- What scan resolution options do you offer?
- Will you return negatives (and in what format, sleeves, cut strips)?
- What is the expected turnaround time right now?
If you’re working with an important event, it’s reasonable to choose a lab that specializes in film and can clearly explain their workflow.
Mistake #7: Picking the cheapest scan option, then blaming the film
A lot of “disposable cameras look bad” is actually “the scans are low quality.”
Low-resolution scans can look:
- mushy when you zoom
- worse in low light
- disappointing when you try to crop or print
Disposable cameras will never be ultra-sharp, but good scans matter because they preserve what’s actually on the negative.
What to do instead
Tell the lab how you plan to use the photos:
- If you only want social sharing, standard scans are often fine.
- If you want to crop, make an album, or print larger than basic snapshots, ask about high-resolution scans for the full roll or at least for selected keepers.
Also ask whether the lab applies heavy automatic corrections. Some people love the “cleaned up” look, others want the raw film vibe.
Mistake #8: Mailing disposables in a way that gets crushed (or lost)
Mail-in labs can be great, but shipping introduces new risks.
Common shipping mistakes:
- sending cameras in a padded envelope (they can crack)
- no tracking
- dropping packages in extreme heat
What to do instead
Ship with:
- a rigid box
- padding so cameras don’t rattle
- a clear order form inside
- tracking (and keep the receipt)
If your event collected 20 to 100 cameras, consider splitting into two shipments so one lost package does not wipe out everything.
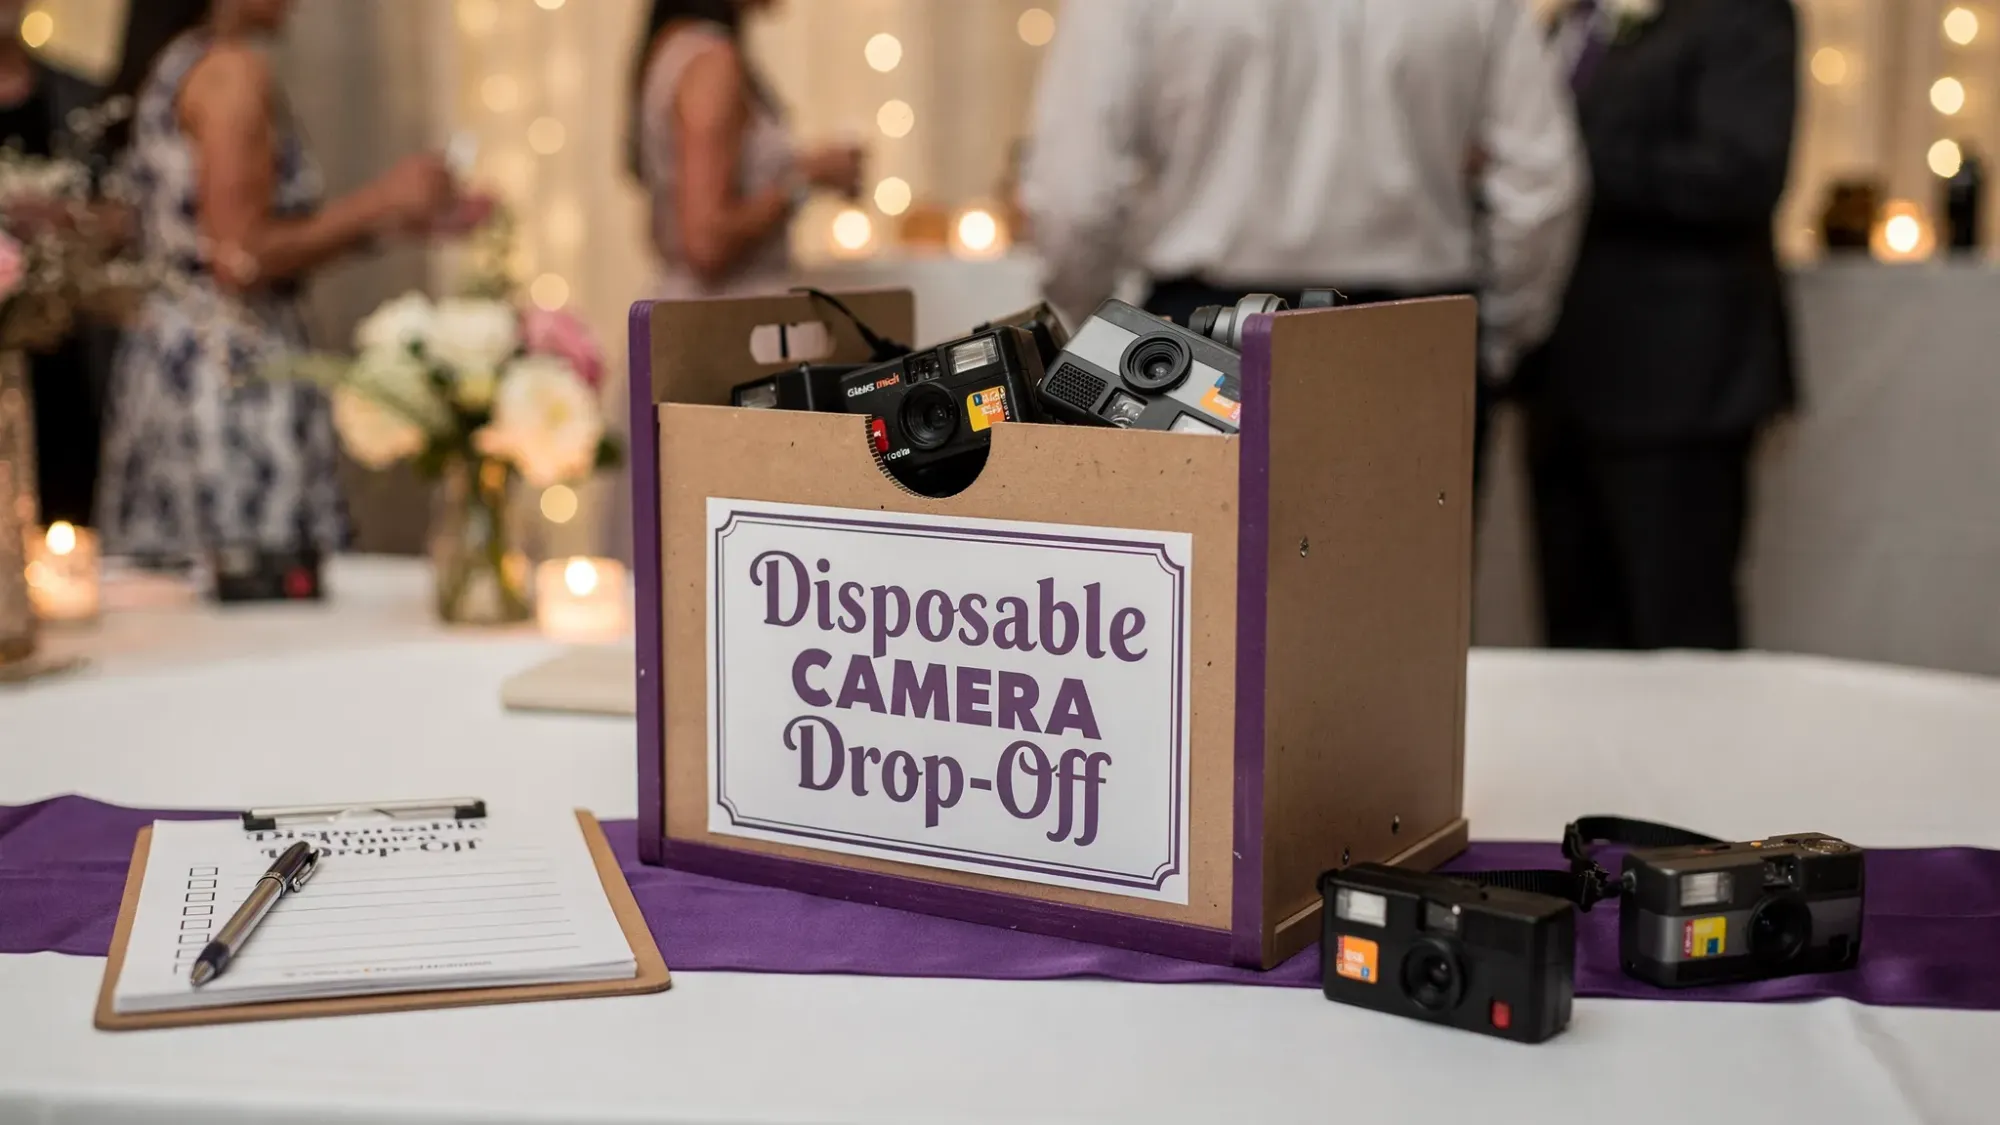
Mistake #9: Not planning a “camera custody” system at the event
This is the event version of film developing failure: the rolls never make it to the lab.
Cameras disappear because:
- guests think they’re favors
- someone tosses them in a purse “to return later”
- the cleanup crew mistakes them for trash
What to do instead
Set up:
- one clearly labeled return box near the exit
- one announcement from the DJ/MC (short and specific)
- a final sweep responsibility (assign a person, not “someone”)
If you’re using disposables for a wedding, the last 10 minutes of the night are your highest-risk window.
A modern workaround: keep the “disposable vibe,” skip disposable film developing
If your goal is the aesthetic and the participation (candids from every perspective), physical disposables are not the only way to get it.
Revel.cam is built for the same “shared camera” energy, but without lab turnaround, lost cameras, or scanning decisions:
- Guests scan a QR code or tap an NFC tag and start shooting immediately
- No app install and no signup (iPhone opens via App Clip)
- Hosts can set per-guest photo limits to recreate the “one roll” feel
- Photos upload instantly to one private event gallery, with optional host review
If you like the disposable concept but hate the failure points above, you can create a Moment in minutes at Revel.cam.
Quick prevention checklist (for weddings, parties, and corporate events)
- Store collected cameras in a cool, dry place the same night
- Keep cameras away from bars, bathrooms, rain, and coolers
- Do not fly disposables in checked luggage
- Do not open the camera back, even if it seems finished
- Choose scan quality based on how you’ll use the photos
- Use tracking and rigid packaging for mail-in orders
- Assign one person to own camera collection at cleanup
Frequently Asked Questions
Can a lab fix film that was exposed to heat or airport scanners? A lab can often still process it, but they cannot undo physical and chemical damage. You may get fogging, color shifts, or reduced contrast across the roll.
How long can I wait before developing a disposable camera? The sooner the better. Waiting increases the chance of heat, humidity, and loss. For event rolls, aim to get them to a lab within a week or two.
Why do my disposable camera photos look worse than I expected? The camera is part of it (small plastic lens, harsh flash), but scan quality matters a lot. Low-resolution scans and aggressive auto-corrections can make decent negatives look bad.
Should I ask the lab to return the negatives? Yes, if you want archival backup or the option to rescan later. Many labs only return negatives if requested.
What’s the best way to avoid losing rolls at a wedding? Use a clearly labeled return box near the exit, make one short announcement, and assign a specific person to do a final sweep.
Want the disposable-camera experience without the developing mistakes?
If you love the idea of limited, candid guest photos but don’t want to risk ruined rolls, missing cameras, or disappointing scans, try a shared event camera instead.
Create a private Moment in minutes on Revel.cam and let guests scan, snap, and upload instantly via QR code or NFC, no app install required.

A writer interested in connection, memory, and the everyday moments that matter more than we realize.