Camera App Filters: How to Pick Ones That Don’t Look Fake
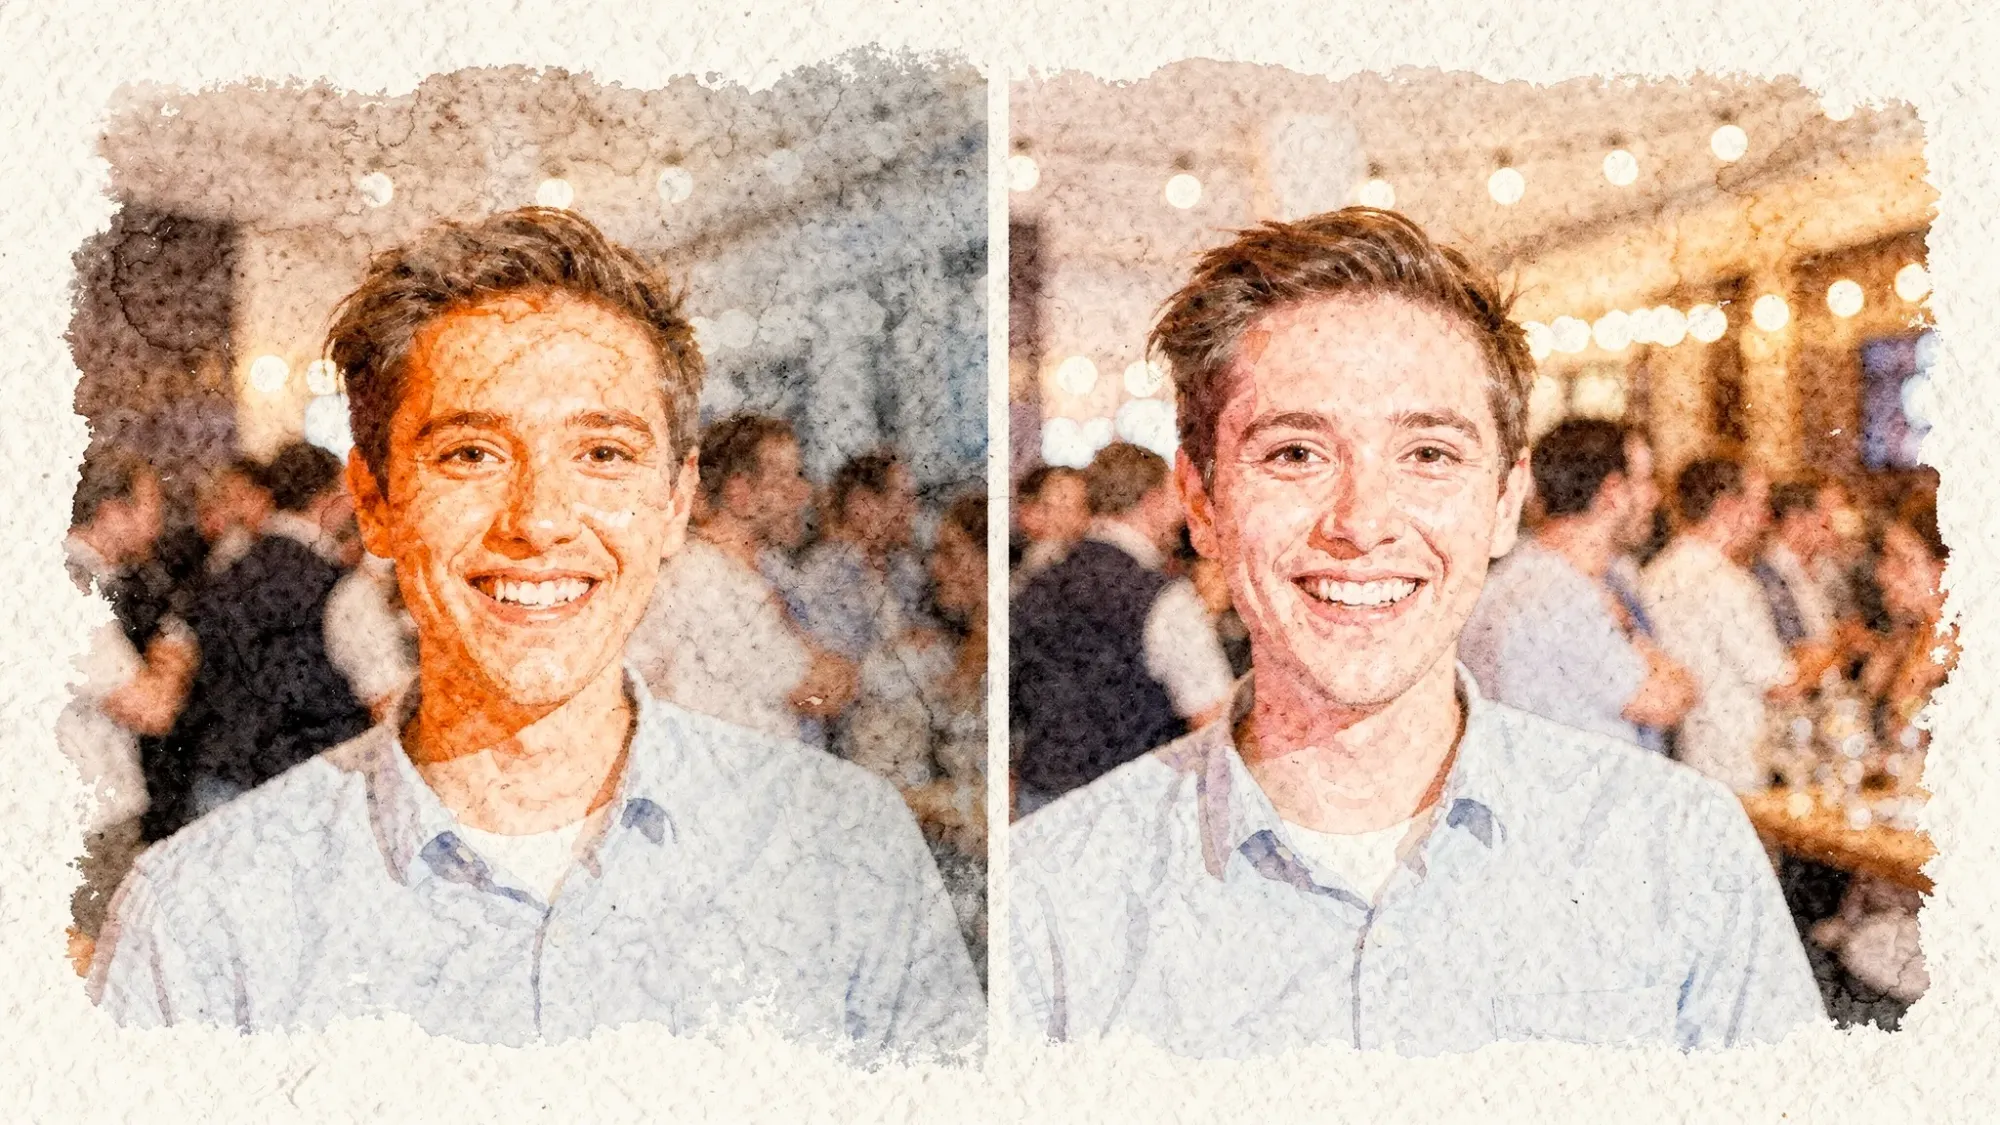
If you have ever applied a preset and immediately thought, “This looks like a filter,” you are not alone. Most “fake-looking” edits come from the same handful of problems: skin tones shift unnaturally, contrast gets pushed too far, highlights clip (wedding dress becomes a glowing blob), and sharpening or “clarity” makes everything crunchy.
The good news is that picking camera app filters that look natural is mostly a process problem, not an art problem. Once you know what to look for and how to test, you can find a look that stays believable across different lighting, different phones, and an entire event gallery.
What makes filters look fake (and how to spot it fast)
A filter feels fake when it breaks visual cues your brain expects to be consistent: skin, whites, and light.
Here are the most common red flags.
| Fake-looking symptom | What’s causing it | What “real” looks like instead |
|---|---|---|
| Skin turns orange, pink, gray, or slightly green | Overdone white balance shift, strong color grading, heavy HSL tweaks | Skin stays within natural variation, with warmth that matches the scene lighting |
| Wedding dress, shirts, clouds lose detail | Highlights are pushed, HDR is aggressive, exposure is lifted too far | Bright areas retain texture and folds, even if they are bright |
| Shadows look “milky” and flat | Blacks lifted too much, contrast curve flattened | Shadows are readable but still have depth |
| Faces look plasticky | Skin smoothing, noise reduction, face retouching | Skin has texture, pores exist, details are not erased |
| Everything is crunchy | Too much sharpening, clarity, structure, or HDR micro-contrast | Edges look clean but not outlined |
| Color looks “too cinematic” for the scene | Heavy teal-orange grading, strong split toning | Color feels like the lighting in the room, not like a movie trailer |
A quick rule: if the filter changes people more than it changes the light, it will usually feel fake.
Start with the right philosophy: capture clean, stylize lightly
The most reliable way to avoid fake-looking edits is to prioritize a clean capture and keep your filter subtle.
Why this works:
- Modern phone cameras already apply a lot of processing (HDR, sharpening, noise reduction). Stacking a heavy filter on top often creates that “overcooked” look.
- Event lighting is unpredictable. A filter that looks great in daylight can look terrible under warm tungsten, DJ uplights, or mixed indoor light.
If you want a consistent look for an event (wedding weekend, birthday, conference), treat filters like seasoning, not sauce.
The 6 things to check before committing to a camera app filter
You can evaluate most camera app filters in under five minutes if you check these in order.
1) Skin tones in mixed light
Mixed light is the hardest scenario: indoor tungsten plus window light, or reception uplighting plus flash. If a filter keeps skin believable here, it will usually behave everywhere.
What to do: test the filter on a photo with at least one face near a window and one face deeper in the room.
2) Whites and neutrals
Whites are where “fake” shows up fastest.
- In weddings, look at the dress and shirts.
- In corporate events, look at name badges, white backdrops, projection screens.
If whites turn yellow, blue, or gray, the filter is pushing color too hard.
3) Highlight detail
A natural look still preserves detail in bright areas. If you see blown highlights, lower the filter intensity or choose a different preset.
Helpful resource: Apple explains how iPhone capture uses HDR and processing to balance highlights and shadows in different lighting conditions in its camera documentation and support materials (start at Apple iPhone camera basics).
4) Shadow depth
If the filter lifts blacks too much, photos start to look “matte” in a way that can feel trendy but fake, especially in event venues.
A good filter keeps shadows rich but not crushed.
5) Texture: sharpening, clarity, and grain
Many presets stack sharpening and grain together. That combination can look great, but it should not compete with the subject.
- If hair looks like straw or edges look outlined, the filter is oversharpened.
- If grain is huge in bright light, it looks like an effect, not film.
6) Consistency across 3 lighting types
Before you commit, test the same filter in:
- Daylight
- Indoor warm light
- Low light (night or dim venue)
If it only looks good in one of those, it is not an event-friendly filter.
A simple scoring test you can use on any filter pack
If you are overwhelmed by options, use a tiny scorecard. Pick 5 filters you like, then score them quickly.
| Test photo | What you’re checking | Score 1-5 |
|---|---|---|
| Face in shade | Skin stays natural without turning gray or orange | |
| White shirt or dress | Whites stay neutral, detail remains | |
| Indoor warm light | Doesn’t turn everything too yellow or too magenta | |
| Low light | Doesn’t add extreme noise, smear faces, or over-smooth | |
| Group shot | Everyone’s skin tone stays believable across the group |
Pick the highest total. More importantly, pick the filter that fails the least in bad lighting, because events are full of bad lighting.
Filter types that usually look more natural (and which ones to be cautious with)
Not all camera app filters are “bad.” Some are designed to be subtle and realistic, others are meant to be obvious.
Usually natural-looking
- Light color shifts and gentle contrast curves: small warmth changes, mild saturation, soft highlight roll-off.
- Film-inspired profiles that preserve skin: good film emulations keep skin tones stable and use color shifts mostly in shadows and greens.
- “Profile” or “style” systems (not sticker-like effects): these tend to change the overall rendering without adding gimmicks.
Apple’s Photographic Styles are a good example of a system designed to be less destructive than a one-tap heavy filter because you can control tone and warmth while keeping skin tone intent in mind.
Often fake-looking (unless used very lightly)
- Beauty filters and face retouching: even subtle smoothing can look uncanny in candid event photos.
- Heavy HDR looks: extreme shadow lift plus strong local contrast often makes faces and backgrounds look unnatural.
- Strong teal-orange “cinema” grades: great for a specific creative project, usually too much for real-life memories.
- Vignettes and blur effects: they can scream “edited,” especially when applied to group shots.
The biggest mistake: choosing filters on a perfect selfie
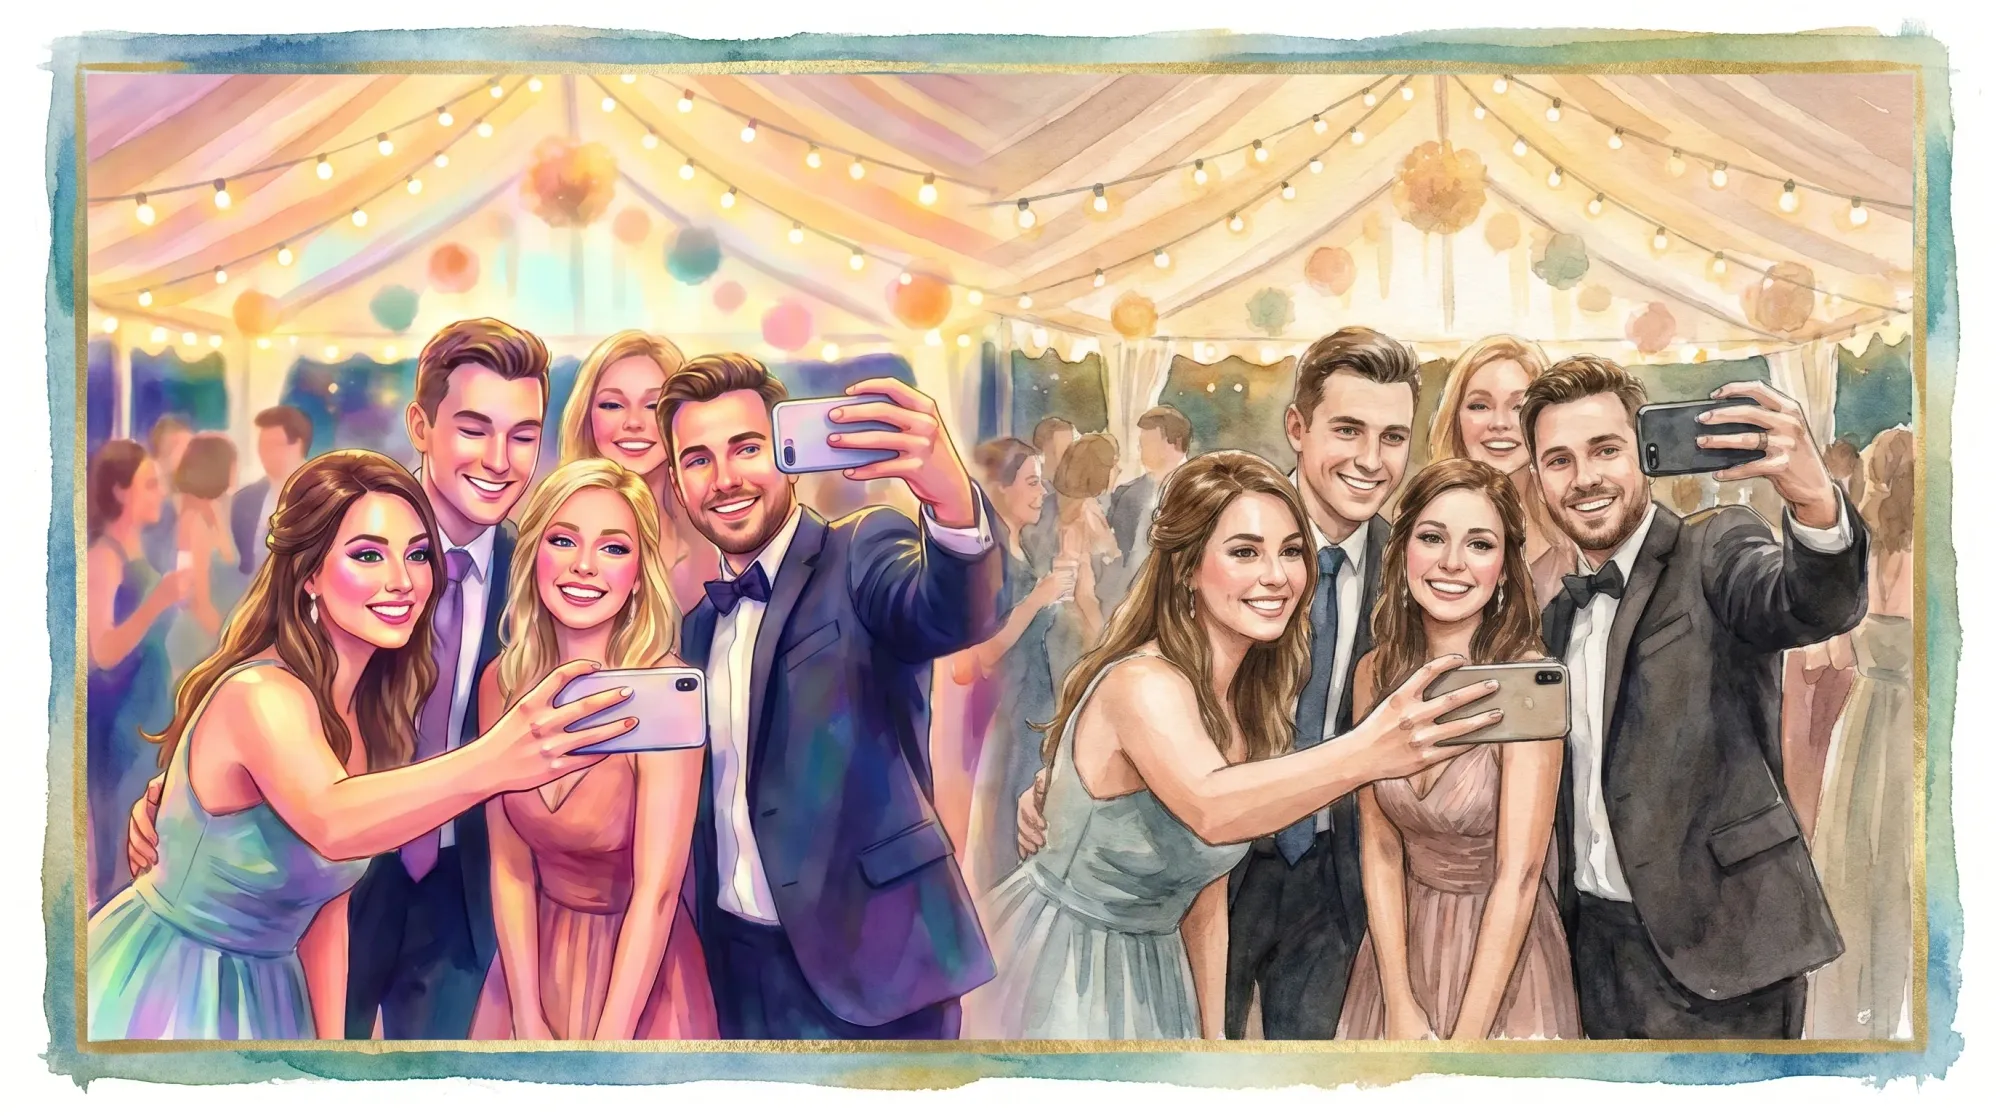
Filters are often previewed on ideal images: one face, flattering light, clean background. Events are the opposite.
A filter that looks “premium” on a selfie can fail hard when:
- multiple skin tones are in the same frame
- the room has colored uplighting
- flash is on for some shots but not others
- the background includes bright signage or reflective surfaces
When you pick camera app filters for real life, your test photos should be real life too.
How to keep an entire event gallery from looking chaotic
Even if every individual filter looks natural, a gallery can still feel messy if photos are processed differently by different guests.
Here are practical ways hosts and planners keep galleries cohesive.
Decide on a “house look” (even if it’s minimal)
A house look is just a simple rule like:
- “No beauty filters.”
- “Warm and natural.”
- “Black and white only for dance floor.”
You do not need to police it, but setting a vibe helps.
Avoid making guests responsible for editing
Guests are at the event to enjoy it. If the process requires them to pick a preset, export, and send it later, participation drops and quality becomes inconsistent.
A better pattern is:
- capture in the moment
- collect everything in one place
- curate and lightly edit after
This is where an event-first workflow helps. Tools like Revel.cam are built around capture and automatic upload (via QR code, NFC, or link), so guests can contribute without having to manage an editing workflow during the event.
Curate first, then apply edits consistently
If you want a polished final gallery, do it like an editor:
- remove near-duplicates
- pick “hero” shots for each part of the event
- apply the same light touch adjustments to the shortlist
Even basic consistency (slightly reduced highlights, modest warmth, gentle contrast) will look more professional than a mix of heavy presets.
Quick fixes when a filter is almost right (but still looks off)
If you love a filter’s vibe but it looks fake, the fix is often not “find a new filter,” it’s “reduce one or two aggressive moves.”
Lower intensity first
Many apps let you dial back filter strength. If the filter feels 20 percent too much, reduce it 20 to 40 percent.
Protect skin by reducing orange and magenta
If your app supports HSL (hue, saturation, luminance), small changes go a long way:
- reduce orange saturation slightly
- reduce magenta saturation slightly
- avoid shifting hue dramatically unless you know what you’re doing
Pull highlights down before lifting shadows
This keeps the image realistic and prevents the “HDR glow” effect.
Be careful with clarity and sharpening
If the photo looks “crispy,” reducing clarity/structure is usually the fastest way back to natural.
FAQ
What are the most natural-looking camera app filters? Natural-looking filters are usually the subtle ones: mild warmth, gentle contrast, stable skin tones, and preserved highlights. Avoid presets that rely on heavy smoothing, extreme HDR, or strong teal-orange grading.
How do I know if a filter will look fake at my event venue? Test it on three real scenarios: indoor warm light, daylight, and low light. Pay special attention to skin tones and whites (shirts, dresses, signage). If either shifts noticeably, choose a subtler filter or lower intensity.
Should I apply filters while shooting or edit later? For events, shooting clean and editing later is usually safer. It reduces inconsistent looks across guests and lighting changes, and it helps you keep one cohesive style in the final gallery.
Why do some filters make faces look plasticky? Many apps apply skin smoothing and strong noise reduction by default, especially in low light. Those tools remove texture and can create an uncanny look. Disable beauty settings when possible, or choose apps that do not apply them aggressively.
How can I keep guest photos consistent without asking everyone to use the same app? Use a single collection workflow during the event, then curate and apply a consistent light edit afterward. The key is to make sharing effortless so you have enough photos to curate.
Collect better, more natural event photos (without turning everyone into an editor)
If you are hosting a wedding, party, or corporate event, the biggest “filter” problem is often a workflow problem: photos end up scattered across texts, shared albums, and DMs, and the only ones you ever edit are the few you can find.
Revel.cam helps by turning your event into one shared camera experience. Guests scan a QR code (or tap an NFC tag) to snap and upload instantly, with no app install or signup required. After the Moment ends, you can review and curate the gallery, then share a clean, cohesive collection.
Create your Moment at Revel.cam.
A writer interested in connection, memory, and the everyday moments that matter more than we realize.
Tags: Photo filters , Photo editing , Photography tips