Best Filters for iPhone Camera for Party and Event Photos
Party photos live or die on two things: light and consistency. The good news is that your iPhone already has enough built-in filters and editing tools to make event photos feel cohesive, flattering, and “shareable” without turning everyone into an editor.
This guide focuses on filters for iPhone camera that work especially well for parties, weddings, and corporate events, plus quick “recipes” you can apply in seconds.
What “best” means for event photos (it’s not the most intense filter)
At events, you’re rarely shooting in perfect lighting. You’re moving fast, people are moving faster, and the room’s color temperature can change from one corner to the next (warm candles at dinner, green uplighting on the dance floor).
So the “best” filter is usually the one that:
- Keeps skin tones believable
- Handles mixed lighting without making everything orange or blue
- Adds a little punch so photos don’t look dull
- Looks good on lots of different faces, outfits, and backgrounds
A practical rule: use stronger looks for dance floor and details, use subtle looks for people.
Before you pick a filter: 20 seconds that upgrades every photo
Filters can’t fix everything. These quick habits matter more than any preset:
- Wipe the lens (shirts work, microfiber is better). A smudged lens creates “haze” and blown highlights.
- Tap to focus, then slide exposure slightly down if faces are bright or the background has lights.
- Step closer instead of zooming (digital zoom gets noisy fast in low light).
- Use flash intentionally on the dance floor (direct flash is often better than a dark, blurry photo).
Once you do those, filters become a finishing move, not damage control.
Two kinds of iPhone “filters” that matter for events
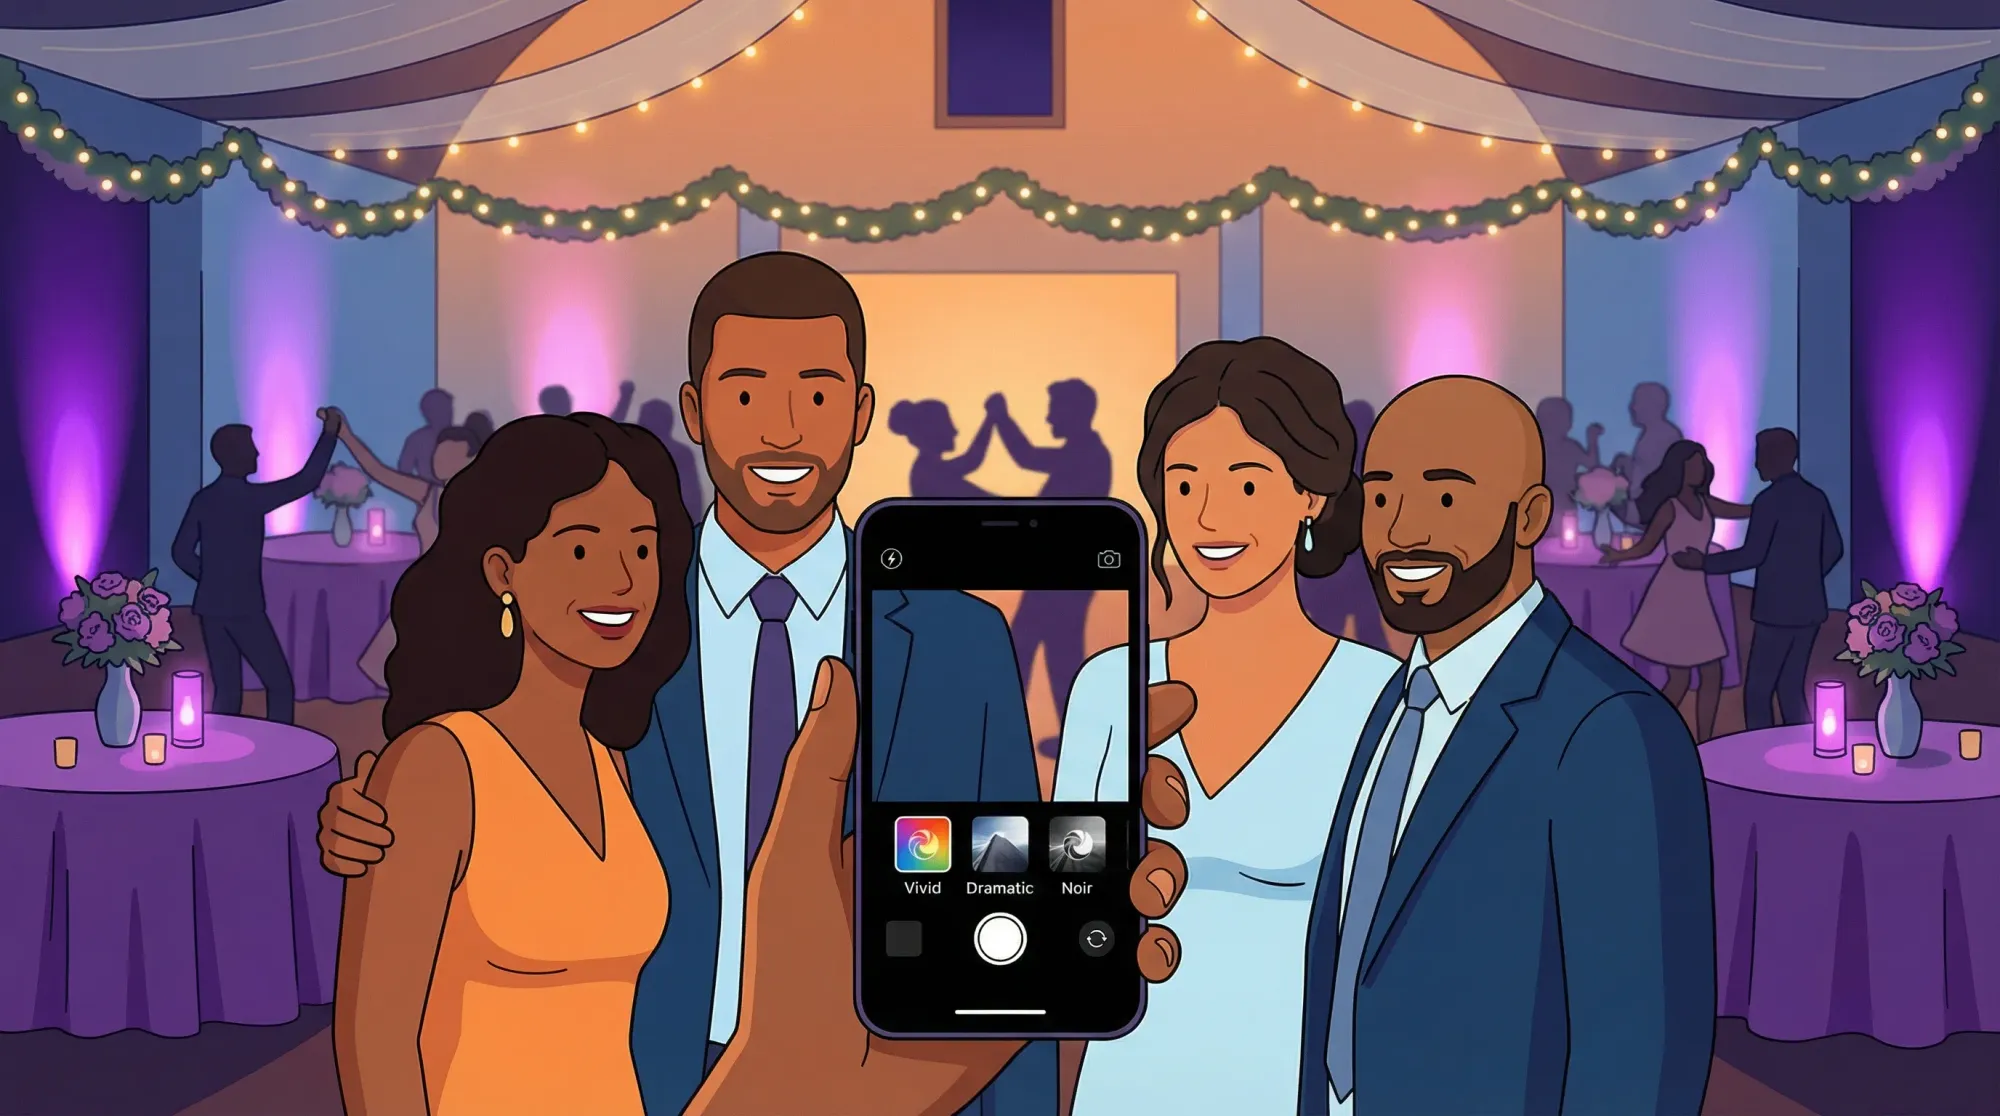
1) In-camera Filters (fast, consistent)
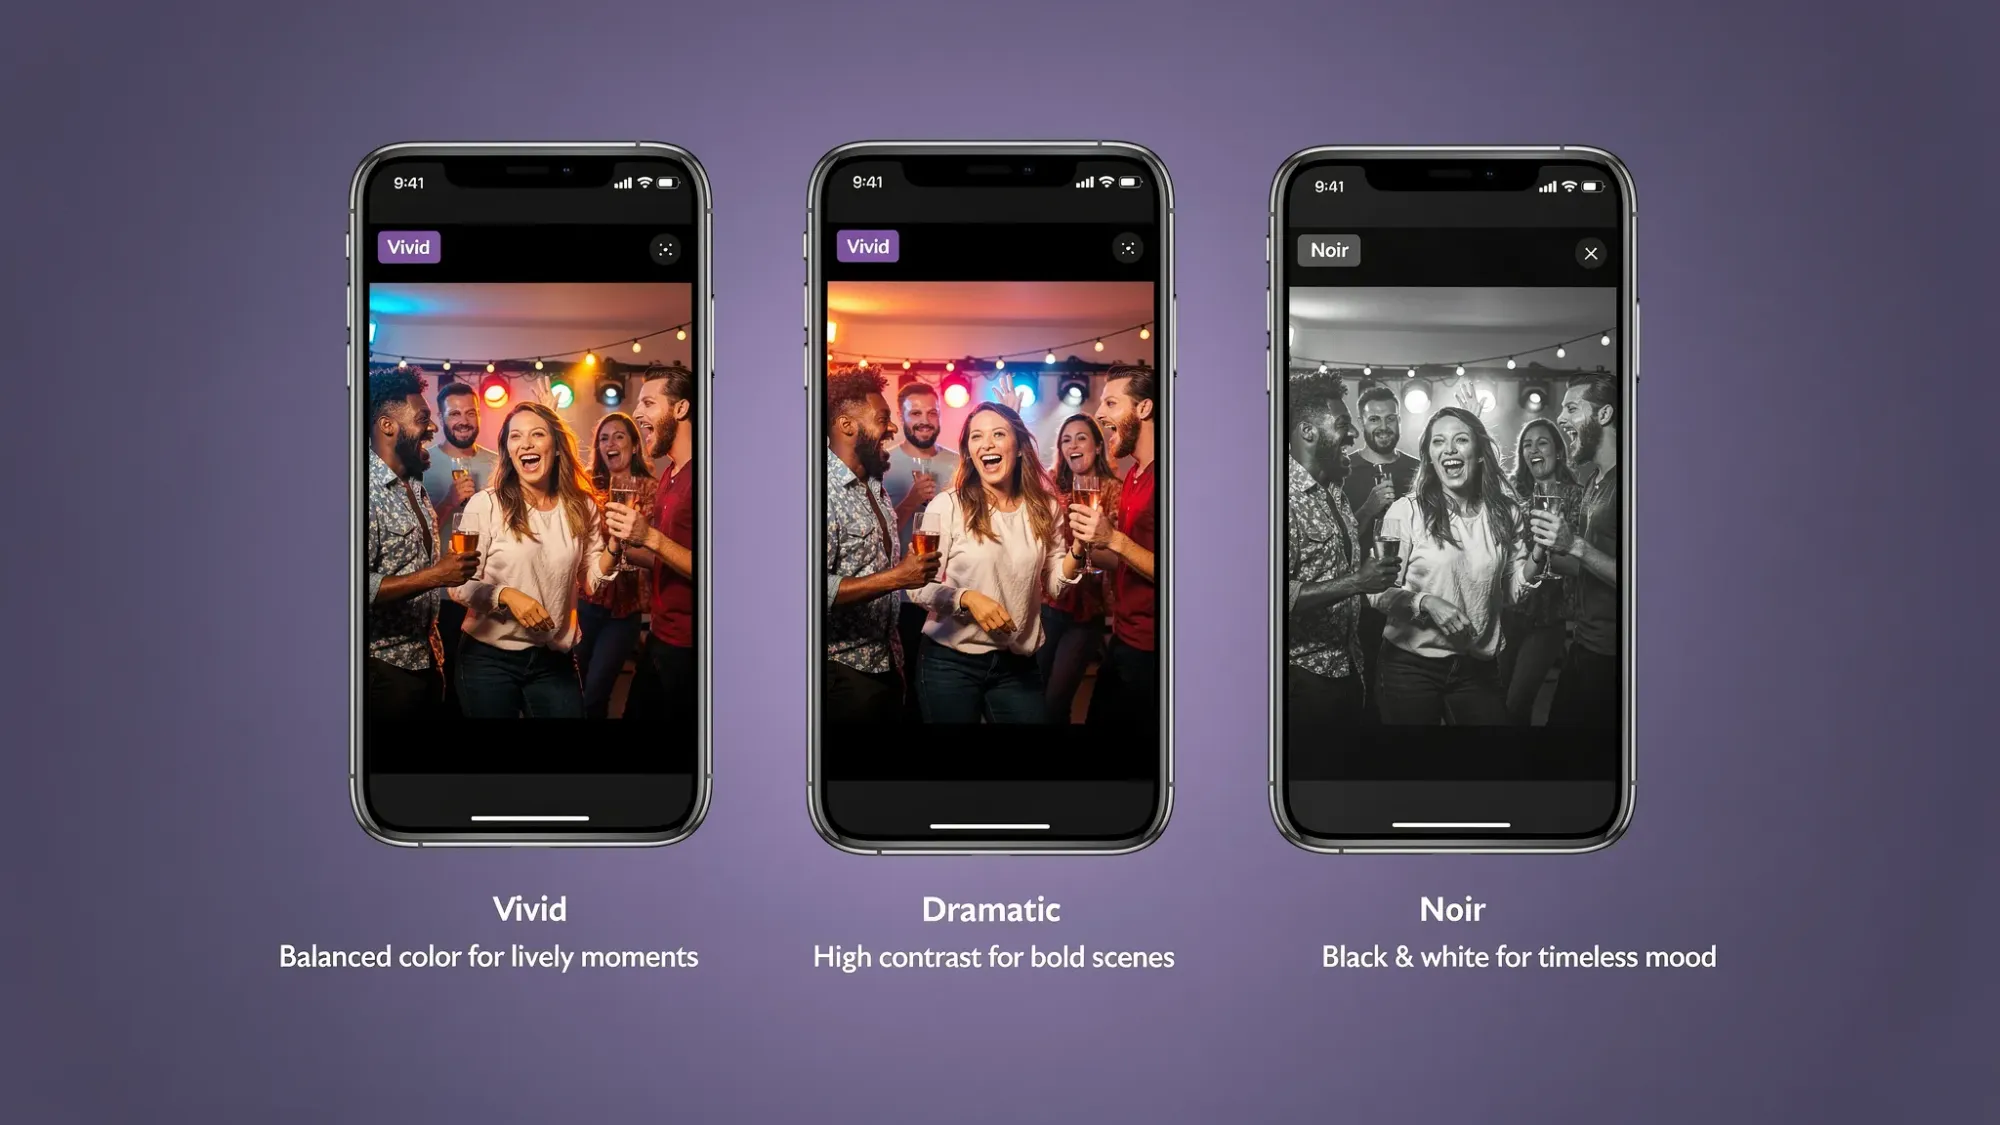
In the Camera app, iPhone includes filters like Vivid, Dramatic, and Noir. These are great when you want a look while shooting.
Apple overview: Use camera effects on iPhone
2) Photographic Styles (best for people, if your iPhone supports it)
On iPhone 13 and later, Photographic Styles can be a better choice than regular filters because they aim to preserve skin tones more naturally.
Apple overview: Use Photographic Styles
If you’re photographing a wedding or a corporate dinner where people are the priority, Photographic Styles are often the safest path.
Best iPhone camera filters for party and event photos (what to use, when)
Below are the most reliable iPhone looks for real-world events. These names refer to the built-in iPhone filter set (and closely related options).
Vivid (the best default for parties)
Use it when: you want brighter colors without going too heavy.
Vivid is the easiest “upgrade” filter for events because it adds presence without screaming “filter.” It works well for:
- Birthday parties
- Cocktail hour candids
- Group shots outdoors or near windows
If it feels too strong, lower the intensity later in Photos.
Vivid Warm (for golden hour, candlelight, cozy vibes)
Use it when: the room is already warm and you want to lean into it.
Great for:
- Golden hour portraits
- Backyard parties at sunset
- Reception dinner toasts (warm lighting, warm mood)
Watch-outs: on very warm indoor bulbs, Vivid Warm can push skin too orange. If faces look “pumpkin,” switch to standard Vivid or cool the warmth slightly in editing.
Vivid Cool (the secret weapon for orange indoor lighting)
Use it when: your venue lighting is warm (tungsten) and photos are turning yellow.
Vivid Cool can pull things back toward neutral. It’s especially helpful at:
- Restaurants
- Ballrooms with amber lighting
- Conference spaces with warm overhead LEDs
Tip: if the room is already cool (blue uplighting), avoid Vivid Cool. It can make people look pale.
Dramatic (for dance floors, stage moments, high contrast scenes)
Use it when: there are bright lights, spotlights, or a dark background.
Dramatic boosts contrast and mood. It’s great for:
- Dance floor action
- DJ booth and lighting-heavy scenes
- Speakers on stage
Watch-outs: Dramatic can crush shadow detail and make faces look a bit harsh. If you want Dramatic energy but softer faces, use it and lower intensity slightly.
Noir (the “save the moment” filter for ugly lighting)
Use it when: the lighting is a mess, but the moment is great.
If you’re dealing with mixed color lighting (pink LEDs, green uplights, flashing dance lights), black-and-white can turn chaos into style. Noir is particularly good for:
- Dance floor candids
- After-party hallway photos
- Emotional moments where expression matters more than color
Mono / Silvertone (classic black-and-white for groups)
Use it when: you want black-and-white that feels softer than Noir.
If Noir feels too intense, try Mono or Silvertone for:
- Family group photos
- Corporate team shots
- Photo booth style moments
Quick decision table: best filters by event lighting
Use this as a fast cheat sheet when you’re in the moment.
| Scenario | What you’re seeing | Best iPhone filter/style | Quick tweak if needed |
|---|---|---|---|
| Bright outdoor daytime | Clean light, strong shadows | Vivid | Lower Highlights slightly in Photos |
| Golden hour | Warm, flattering light | Vivid Warm | Reduce Warmth a touch if skin goes orange |
| Indoor dinner lighting | Everything looks yellow | Vivid Cool | Add a little Brilliance to lift faces |
| Dance floor / club lighting | Dark room, bright points of light | Dramatic or Noir | If faces are harsh, lower filter intensity |
| Mixed LEDs (pink/green/blue) | Skin tone looks “off” | Noir | Add a touch of contrast if it’s flat |
| Corporate stage / speakers | Spotlight, dark background | Dramatic | Lower Shadows only if detail is lost |
Best “people-safe” Photographic Styles (if available)
If you have Photographic Styles (iPhone 13+), these are the most event-friendly:
- Standard: best when you want maximum flexibility later.
- Vibrant: similar to Vivid energy, often great for receptions and parties.
- Warm: nice for sunset and candlelight, but use lightly.
- Rich Contrast: great for stage moments and dance floor, can be too intense for close-up faces.
If you’re hosting an event and you want the final gallery to feel consistent, pick one style for most of the night.
How to apply a filter after the event (fast) in the Photos app
If you didn’t shoot with a filter (or you want to tone it down), editing in Photos is usually the fastest path.
Apple steps: Edit photos and videos on iPhone
A simple workflow that works for most party photos:
Step 1: Start with a filter at low intensity
Open a photo in Photos → Edit → Filters.
Pick one of:
- Vivid (general)
- Vivid Cool (warm indoor)
- Dramatic (dance floor)
- Noir (mixed lighting)
Then reduce intensity until it looks natural.
Step 2: Fix the two sliders that matter most
Most event photos improve with small adjustments to:
- Brilliance: lifts faces without nuking highlights
- Exposure: a tiny bump up or down is often the difference between “meh” and “keeper”
Step 3: Clean up color (only if needed)
If skin looks too orange or too blue, adjust:
- Warmth (small moves)
- Tint (only if lighting went green or magenta)
Step 4: Make it feel crisp (without over-sharpening)
Low-light photos can get gritty fast. Use:
- Definition (a little)
- Noise Reduction (a little)
If you push these too far, faces can look waxy. Subtle wins.
Three “event looks” you can reuse (simple recipes)
These are intentionally lightweight so they work on lots of guest photos.
Look A: Clean + bright (best for weddings and corporate events)
Use: Vivid at low-to-medium intensity.
Then:
- Brilliance: slightly up
- Highlights: slightly down
- Warmth: tiny adjustment toward neutral
Look B: Cozy + warm (best for dinner and golden hour)
Use: Vivid Warm at low intensity.
Then:
- Exposure: slightly up (only if faces are dark)
- Warmth: keep modest
- Black Point: tiny increase for depth
Look C: High-contrast black-and-white (best for dance floor)
Use: Noir.
Then:
- Contrast: slightly up
- Shadows: slightly up if faces disappear
Common filter mistakes that make event photos look worse
Overdoing warmth (the “orange skin” problem)
Indoor venues are often warm already. If everyone looks sunburned, reduce Warmth, switch to Vivid Cool, or go black-and-white.
Using high-contrast looks for close-up portraits
Dramatic and Rich Contrast can be amazing, but they can also emphasize under-eye shadows and texture. For people-focused photos, start softer.
Trying to “fix” terrible lighting with color
If the room lighting is neon and chaotic, you’ll spend forever chasing skin tone. That’s when Noir earns its place.
Inconsistent looks across the same moment
If one friend shoots in Vivid Warm and another in Dramatic Cool under the same lights, the gallery can feel random. For events, consistency is a feature.
A practical tip for hosts: make the gallery feel consistent (even with 50 photographers)
At weddings, parties, and conferences, you’re not controlling how guests shoot. But you can control the collection experience and give guests a gentle nudge.
Two easy options:
- Pick a “house style” for the event (for example: “Use Vivid” or “If you’re on the dance floor, try Noir”). Put it on a small sign near wherever people are prompted to take photos.
- Curate before sharing so the final gallery matches the vibe you want.
If you’re using a shared event gallery, the goal is not perfection. It’s a story that feels cohesive.
Bonus: when to use third-party filter apps (and when not to)
Third-party apps are great when you want a specific aesthetic (film emulation, editorial color, consistent presets across images). They’re not always great during a party because they add friction.
If you want to experiment after the event, these are widely used options:
- Adobe Lightroom Mobile (powerful color control, presets)
- VSCO (fast, stylish presets)
- Snapseed (free, great for quick fixes)
If your priority is getting more guest photos collected at all, keeping the workflow simple usually beats chasing the perfect preset.
Frequently Asked Questions
What are the best filters for iPhone camera for party photos? Vivid is the best all-around choice. For warm indoor lighting use Vivid Cool, for dance floors use Dramatic or Noir, and for golden hour use Vivid Warm.
Should I use filters while shooting or edit later? If you want speed and consistency, use filters while shooting. If you want more control (and less risk of overdoing it), shoot normally and apply a filter later in Photos.
Which iPhone filter is best for low light and dancing? Dramatic works well when there are bright lights and dark backgrounds, but Noir is often the easiest win when lighting colors are messy.
How do I stop iPhone party photos from looking too yellow? Try Vivid Cool, or reduce Warmth slightly in the Photos editor. Warm indoor bulbs are a common cause of yellow color casts.
Do iPhone Photographic Styles look better than filters? Often yes for people, because Photographic Styles are designed to keep skin tones more natural. They are especially useful for weddings and corporate events.
Collect everyone’s best shots (without begging for them later)
Filters help photos look better, but the bigger event problem is usually distribution: photos end up scattered across group chats, AirDrop threads, and “I’ll send it later” promises.
If you want one clean gallery from the whole room, you can use Revel.cam to turn your event into a shared camera. Guests scan a QR code (or tap an NFC tag) to snap and upload instantly, with no app install or signup required. You can set guest limits, set photo limits, end the Moment, review shots, then share a beautiful gallery.
Create your Moment at Revel.cam.
A writer interested in connection, memory, and the everyday moments that matter more than we realize.
Tags: iPhone Photography , Event photography , Event photo collection , Event photo sharing , Event planning , Shared event photos , Corporate events